
Lamar Valley landscape, Yellowstone National Park / Rebecca Latson
The year is almost over! And this December, I'll be celebrating my 7th anniversary as a contributing editor and photographer for the National Parks Traveler! Where did the time go? Some of you will say “time flies when you’re having fun.” Well, I’ve certainly had fun with photography in the national parks I visited. As a matter of fact, I recently spent 9 very cold, snowy days in Yellowstone National Park. Yellowstone covers almost 3,500 square miles (9,065 square kilometers) of mountains, meadows, valleys, forests, rivers, lakes, waterfalls, and geyser basins, so I’ll be the first to admit 9 days just isn’t enough time to spend absorbing everything America’s first national park offers. Still, I managed to capture a gazillion images (almost exaggerating here) using techniques and my own advice which I’ve given to you over the years in this monthly column.
As such, for the end of the year, I decided I’d synopsize selected past articles I’ve published in the Traveler, which I apply to my own photography with regularity. I’m bringing them all together using images captured during my October trip to Yellowstone. Each of the highlighted headers are links to the full articles I've penned for this column.
Leading Lines, Natural Frames, and Other Techniques
I’ve written more than just a single article about these techniques, but the header above is linked to the very first story I wrote for the Traveler. Aside from my own nostalgia, the stuff in that article still holds true and always will, IMO. A photographer utilizes various techniques to capture a great photo which should, in turn, capture the viewer’s eye. It doesn’t matter if you are using a smartphone, point-and-shoot, or tricked-out SLR. Below are the three techniques I use the most in my images.
The leading line technique uses something in the image, like a trail, road, river, boardwalk, or waterfall to guide the eyes from Point A to Point B to beyond. Leading lines are a personal favorite of mine, I admit, and I certainly capture my fair share of them.
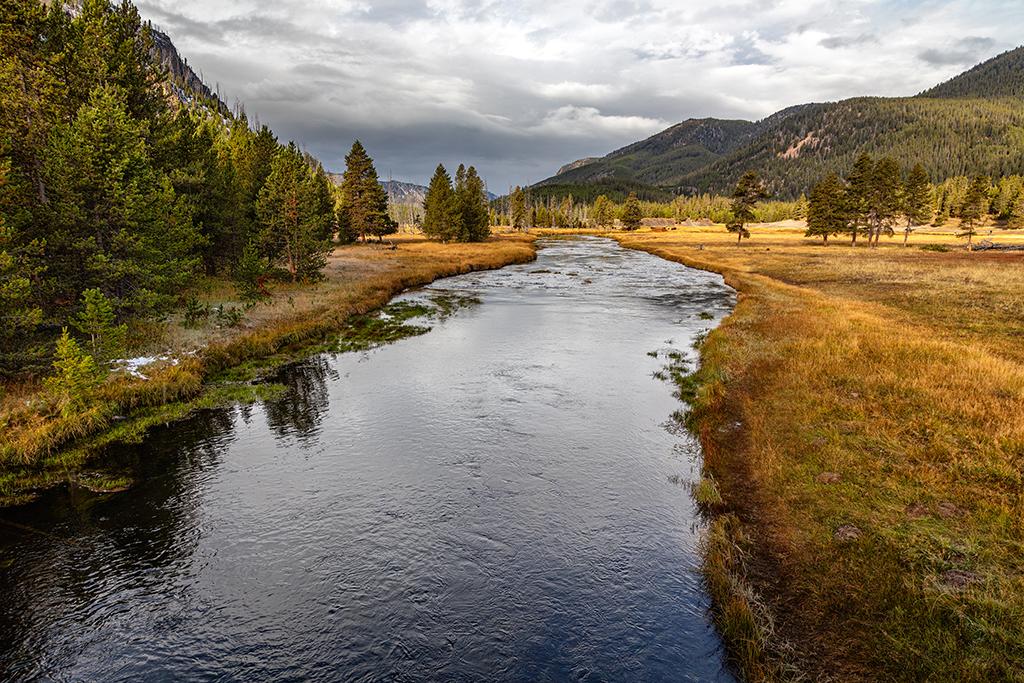
Looking west along the Madison River, Yellowstone National Park / Rebecca Latson
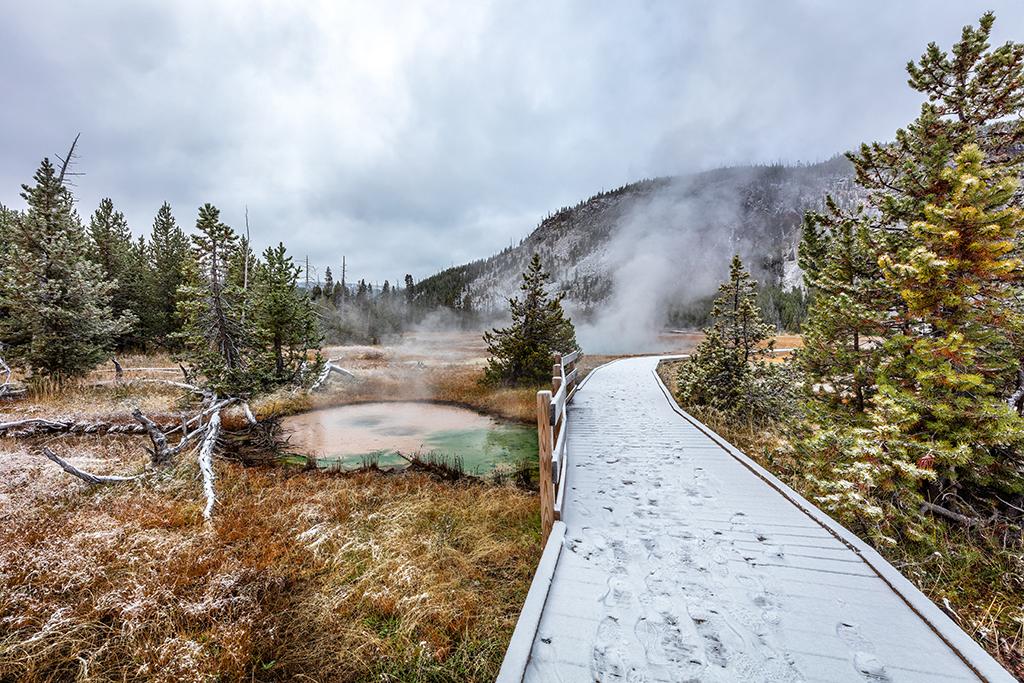
Scenery along the boardwalk at Black Sand Basin, Yellowstone National Park / Rebecca Latson
Natural frames are another great technique to place more focus on your subject. Trees on either side of your composition work very well, as do rock walls or even a lodge window.

An Artist Point view of the lower falls of the Yellowstone River, Yellowstone National Park / Rebecca Latson

A view of everything from Observation Point, Yellowstone National Park / Rebecca Latson
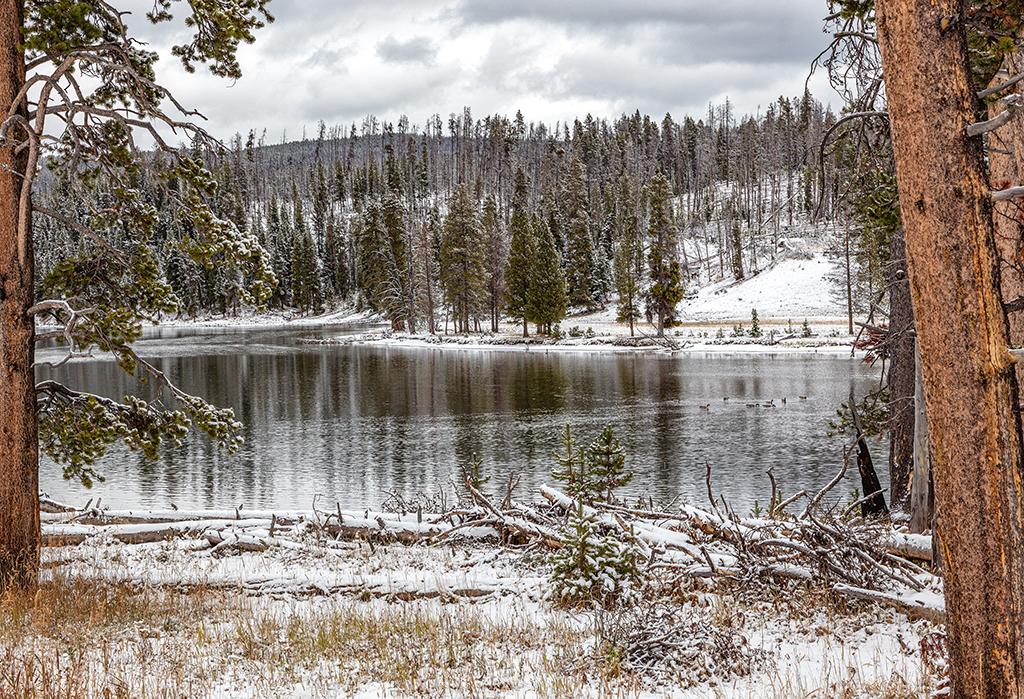
Yellowstone landscape on a wintery October day, Yellowstone National Park / Rebecca Latson
Sometimes the impact your subject makes works well if you place it smack dab in the center of your viewfinder, and other times, more emphasis is focused on your subject if you place it to the right or left of your composition, or above or below your horizon line. This is called the rule-of-thirds technique.

Grazing in an autumn snowstorm, Yellowstone National Park / Rebecca Latson
While this is geared more toward SLR users, I know there are some filters out there which fit on point-and-shoot fixed lenses and there are a number of smartphone aps with photo filters approximating my favorite and most useful filter: the circular polarizer (with the graduated neutral density filter coming in a close second). Every SLR user should carry these two filters (CPL and grad ND) in their camera packs. CPLs, especially, make a huge difference, depending upon the result you want.
A CPL attaches to your lens and works on the same principle as your sunglasses. When the sun hits the glass at a certain angle, as you rotate this filter's outer ring, you'll see a reduction of glare and reflections on water, windows and vegetation, haze removal, an increase in color saturation, and better delineation of cloud texture. A CPL even eliminates water glare, allowing you see below the surface.
The two images below of Liberty Pool in Upper Geyser Basin highlight the difference between use of, versus not using, a CPL. Both shots are lovely, and it all boils down to what you, the photographer, want your audience to see.

Liberty Pool - no polarizer, Yellowstone National Park / Rebecca Latson

Liberty Pool - with polarizer, Yellowstone National Park / Rebecca Latson
My second-favorite filter is the graduated neutral density filter (grad ND). It's a round, square or rectangular piece of glass or resin that is half clear - half gray shade. This filter is usefor for compositions with a horizon line where the horizon bottom is darker, while the scene above the horizon is excessively bright. The grad ND prevents blowing out (overexposing) the highlights above the horizon (for the most part) while you set your exposure for the darker areas below the horizon. Much like a CPL, the grad ND also adds texture to clouds.

Hot Lake landscape, Yellowstone National Park / Rebecca Latson
Not everybody likes silky water, but I sure do, and all my waterfall photos, plus a number of river and stream shots, use this technique. So, I want to take a moment to describe the silky water technique, that smooth, satiny-silky look to water achieved with a slow shutter speed and a neutral density filter (not a grad ND). A regular ND filter is a dark piece of glass or resin fitting over your lens which allows you to use slower shutter speeds while not overexposing the entire composition. Note: under certain circumstances, like a shady or shadowed scene, you can use a CPL instead of an ND filter for a silky water shot. You must use a tripod or have some other stable ground for your camera. Otherwise, slow shutter speeds of 1 or more seconds mean a blurred image if handholding.

Firehole Falls, Yellowstone National Park / Rebecca Latson

Fairy Falls, Yellowstone National Park / Rebecca Latson
Finding Pattern, Texture, and Color in Your Compositions
The more you observe your surroundings, the better you become at composing your shot, which in turn makes you a better photographer. Looking for patterns, textures and colors to photograph improves those powers of observation. I’m pretty sure most of your national park images possess at least one of these properties. It might be the colors of a canyon like the one framing Lower Yellowstone Falls,
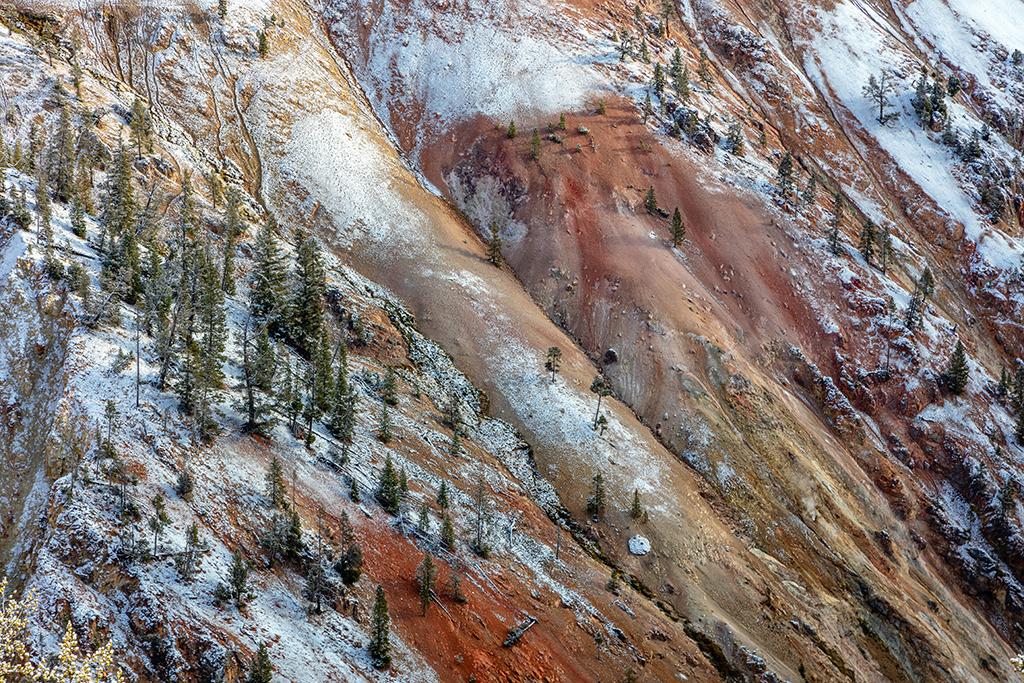
Canyon colors at Grand Canyon of the Yellowstone, Yellowstone National Park / Rebecca Latson
or the iridescent feathers of a black-billed magpie,

A black-billed magpie, Yellowstone National Park / Rebecca Latson
or layers of landscape in the Hayden Valley,

Layers of landscape in the Hayden Valley, Yellowstone National Park / Rebecca Latson
or the difference in texture and color between bright green moss covering tree bark,

Moss on a log, Yellowstone National Park / Rebecca Latson
or the biscuit-like geyserite formations created by dissolved silica deposited at a steam vent or geyser.

"Biscuits" not for breakfast at Norris Geyser Basin, Yellowstone National Park / Rebecca Latson
In addition to pattern, texture, and color, you’ve probably noticed, consciously or subconsciously, the geometry Nature creates in the landscape. It could be the straight lines of tall lodgepole pine in your forest photo,

A forest abstract, Yellowstone National Park / Rebecca Latson
or the sine curve of the Yellowstone River at Calcite Springs,

Calcite Springs and the Yellowstone River, Yellowstone National Park / Rebecca Latson
or the intersecting log roof beams over the parallel lines of tables in the Old Faithful Inn dining room.

The geometry of the Old Faithful Inn dining room, Yellowstone National Park / Rebecca Latson
Telephoto lenses are not just for wildlife and sports. They make great landscape lenses, too, zooming in a little closer to mountain, field or forest features that might otherwise shrink into something undiscernible within a wide-angle scene.

A telephoto landscape of Yellowstone landscape, Yellowstone National Park / Rebecca Latson

Bunsen Peak, Yellowstone National Park / Rebecca Latson
Adding The “Little Things” To Your Gallery
In addition to wide-angle and telephoto landscapes, you should remember to flesh out your national park photo gallery with images of the little things. That doesn’t necessarily mean you need to get a bunch of macro shots, although they are included in the “little things” category. I’m talking about pinecones and conifer needles on trees, and balls of frost on fading flowers, and green growth around a hot spring, and birds perched on railings.

Snow cones, Yellowstone National Park / Rebecca Latson

Little puffs of snow, Yellowstone National Park / Rebecca Latson

Life around a hot spring, Yellowstone National Park / Rebecca Latson

Ruffled feathers, Yellowstone National Park / Rebecca Latson
Creating A Sense Of Scale And Reference
While many photographers refuse to include people or anything man-made in their images, I believe you should add a little humanity to your images. The size of people against the vastness of Nature creates a sense of scale and reference to help your viewer see just how large (or small) a particular national park environment is in comparison.

Tiny people (can you spot the couple?) and big geology, Yellowstone National Park / Rebecca Latson

The scale of Grand Prismatic Spring, Midway Geyser Basin, Yellowstone National Park / Rebecca Latson
If you still balk at using people, then use wildlife in your landscapes, like the buffalo image below. You might not have a big enough telephoto lens for super close ups, but you can still show the wildlife in its environment while providing scale and reference at the same time.

Yellowstone landscape, Yellowstone National Park / Rebecca Latson
Different Seasons, Weather Conditions, and Times of Day
During the 9 days spent in Yellowstone, I re-visited several favorite scenes during different times of day and definitely under different weather conditions, not to mention during a different season from my short 2018 summer trip. Different seasons, weather conditions, and times of day can really change up the same scene. That’s why I urge you to visit your favorite place(s) in a national park more than once.

The lower falls of the Yellowstone River on a snowstormy autumn day, Yellowstone National Park / Rebecca Latson

Sunrise over the lower falls of the Yellowstone River, Yellowstone National Park / Rebecca Latson
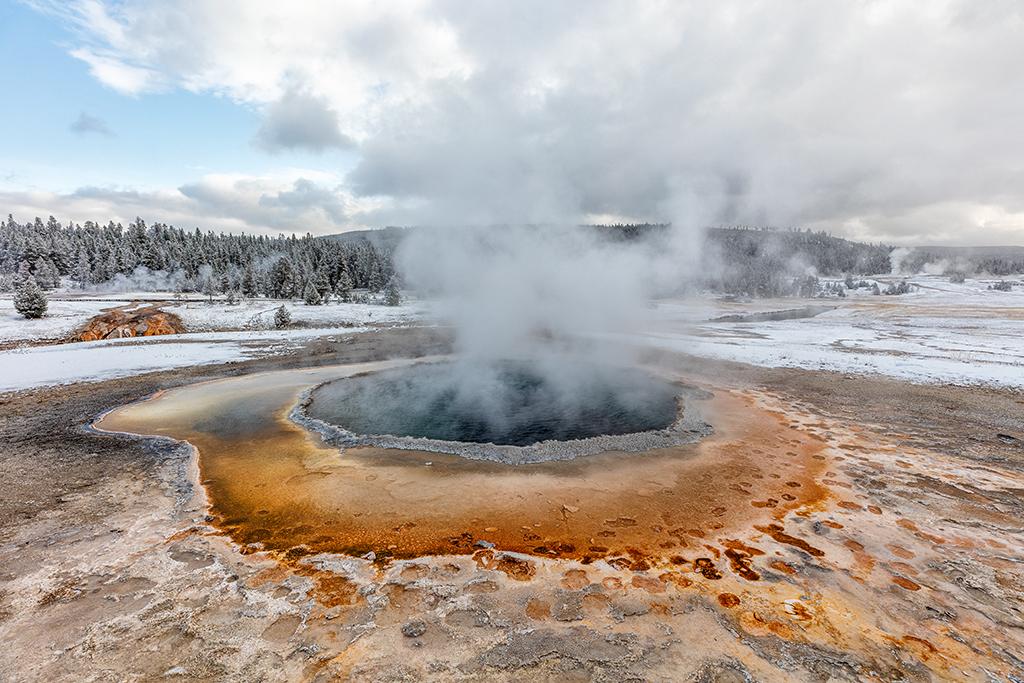
Crested Pool on a very cold October day, Yellowstone National Park / Rebecca Latson

Crested Pool on a very warm, sunny August day, Yellowstone National Park / Rebecca Latson
All the suggestions, tips, and techniques I’ve synopsized above lead to what I consider one of the most important functions of photography: telling your audience a story. As a matter of fact, I’ve just told you my own Yellowstone story with the photos shared in this column. Great images don’t even need words for you to get the gist of the story. And, like a great story, a great image will also elicit emotion. You know it does from the oooo’s and ahhhh’s you’ve heard family, friends, and colleagues say when they look at your national park photos. These stories not only wow your viewer, but they bring back memories of your wonderful park travels in addition to reminding you and others just how important national parks, monuments, seashores, historic sites, and other protected lands are to all of us. In addition to providing unique environments for flora and fauna, they instill within us a sense of awe and wonder, clearing the mind of all those murky urban worries, refreshing our souls, and jump starting our own imaginations and creative juices.
So, armed with what you've read here, take your smartphone, point-and-shoot, and SLR and keep on telling your national park story.

The beauty of Morning Glory Pool on a snowy autumn morning, Yellowstone National Park / Rebecca Latson



 Support Essential Coverage of Essential Places


Comments
Great article and photographs, Rebecca.
Always enjoy your excellent photos and articles Rebecca!! Thanks very much for sharing with us.