Low-light interior photography takes a little effort at the best of times, and this is with a tripod. Cave shots captured during one of the tours offered at Jewel Cave National Monument (or any of the other cave units within the National Park System) are trickier, because tripods, bipods, and monopods are prohibited. How do you achieve great cave shots during a cave tour?

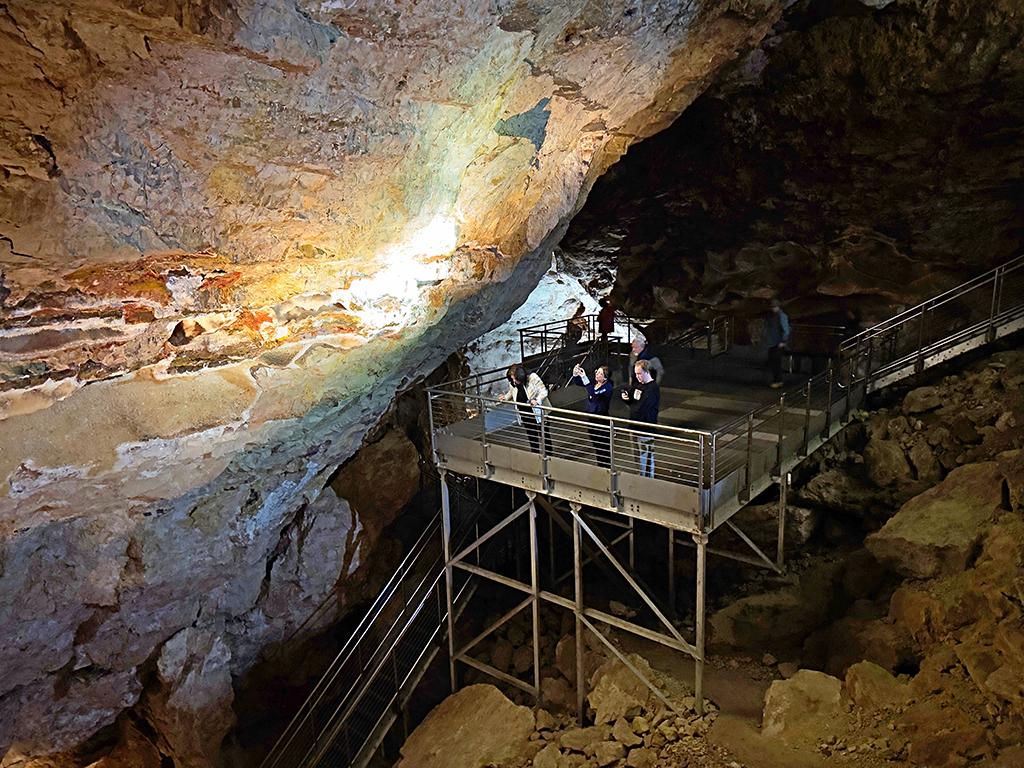
Exploring the Target Room of Jewel Cave during the Discovery Tour while using a smartphone and no flash, Jewel Cave National Monument / Rebecca Latson
Low-light interior photography takes a little effort at the best of times, and this is with a tripod. Cave shots captured during one of the tours offered at Jewel Cave National Monument (or any of the other cave units within the National Park System) are trickier, because tripods, bipods, and monopods are prohibited. How do you achieve great cave shots during a cave tour?
After having used a smartphone, point-and-shoot, and SLR camera each, for different cave tours at Jewel Cave National Monument and Wind Cave National Park in South Dakota, and Lehman Caves at Great Basin National Park in Nevada, I want to suggest a few tips for you to try, with whatever camera you are using during your cave tour.
While the FAQs for these cave-centric park units advise against using a large lens on your SLR during tours, they do not prohibit it. You can also use a compact lens like a 40mm lens, which not only allows you to capture wide(ish)-angle-type images of cavern rooms, but also allows you to get some sort-of-macro shots of interesting cave formations without worrying the lens will touch them (which is a huge no-no, btw).
SLR Users

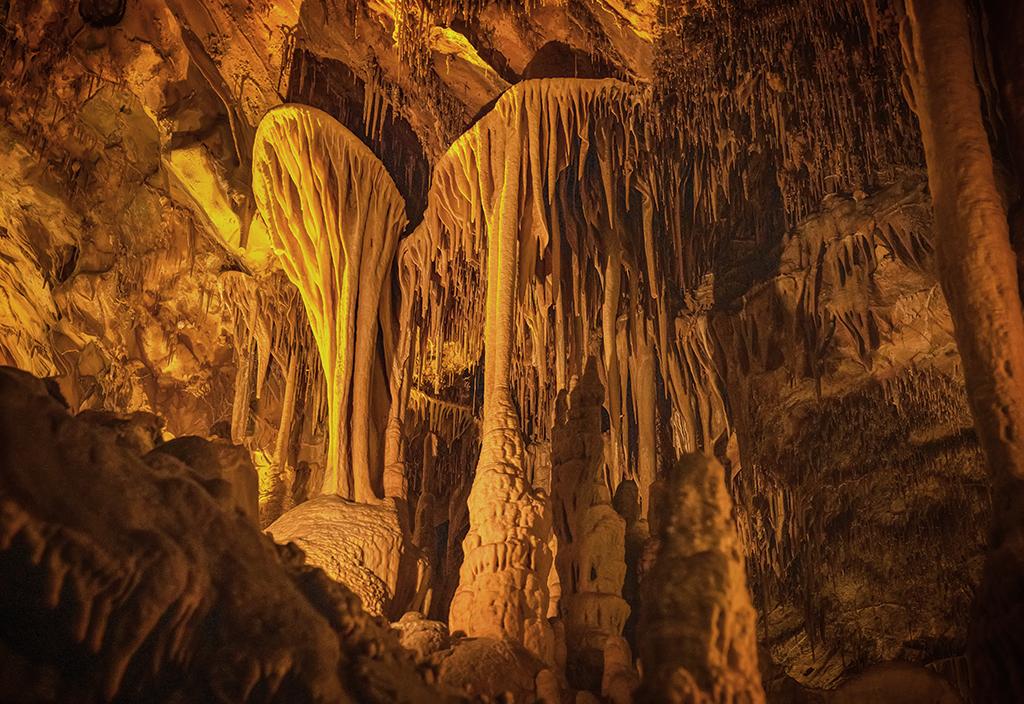
Cave shields (aka cave parachutes) and other speleothems in Lehman Caves (using an SLR), Great Basin National Park / Rebecca Latson
Since you will be handholding your SLR, you need to use a shutter speed slow enough to allow as much of the artificial light in the cave as possible to hit your camera’s sensor, yet still be fast enough to prevent camera blur. I usually apply a shutter speed of 1/25 or 1/30. I can get away with 1/40 if I set my camera’s ISO high enough.
Speaking of ISOs, try bumping it up from between 640 to 2000. The higher the ISO, the better, although this means a much greater chance of “noise” (grain) on your resulting image. Thankfully, there are software standalone and plug-in (they “attach” to your photo editing software) noise reduction applications such as Imagenomic, Noise Ninja, and Topaz DeNoise AI, that will reduce or eliminate that grainy appearance.
Use the widest aperture your lens allows. The aperture is the opening between lens and camera sensor and is known as the f-stop. Some lenses have f-stops as large as 1.2, while others’ lowest f-stop is 4. The smaller the f-stop number, the wider the opening, and the more light allowed onto your camera’s sensor. While most camera lenses have an aperture ring on them, you can usually set your f-stop with one of the in-camera menu settings. Some lenses, however, will only allow you to use the aperture ring to set the f-stop.
Use the “burst method,” which requires you to simply hold down on that shutter button for several clicks. One of those multiple shots will usually result in a clear, sharp image. Of course, that takes up memory card space, so make certain you have multiple cards with you. While you are at it, make sure you either have a fully-charged battery in your camera, or are carrying extra charged camera batteries for a quick switch.
Try out your flash, if allowed (and most cave tours allow a flash, even though it might annoy the other tour attendees). A small flash is recommended for your SLR simply because a large flash is too powerful, would be too bright, and would probably blow out (overexpose) your subject or your entire shot, not to mention blind your fellow tour members. I tend to use a flash sparingly or not at all because I don’t like annoying the crowd.

The Inscription Room is filled with signatures of early-20th-century tourists to Lehman Caves (SLR with no flash), Great Basin National Park / Rebecca Latson
Point-And-Shoot Users

Boxwork speleothem on the ceiling of Wind Cave (captured with a point-and-shoot camera and an ISO of 160, shutter speed 1/60, and aperture f-1.8 while using a flash), Wind Cave National Park / Rebecca Latson
Point-and-shoot camera users have it a little easier, because your camera type will be much smaller, with a built-in flash and wide-angle to telephoto options for your built-in lens. Some point-and-shoot cameras have settings to allow a choice of ISO/shutter speed/f-stop. If not, try your night setting, or just take a regular photo with the flash turned on. You can also use the burst method with your point-and-shoot, but the pause between shutter clicks will be a bit slower than with an SLR.
Smartphone Camera Users

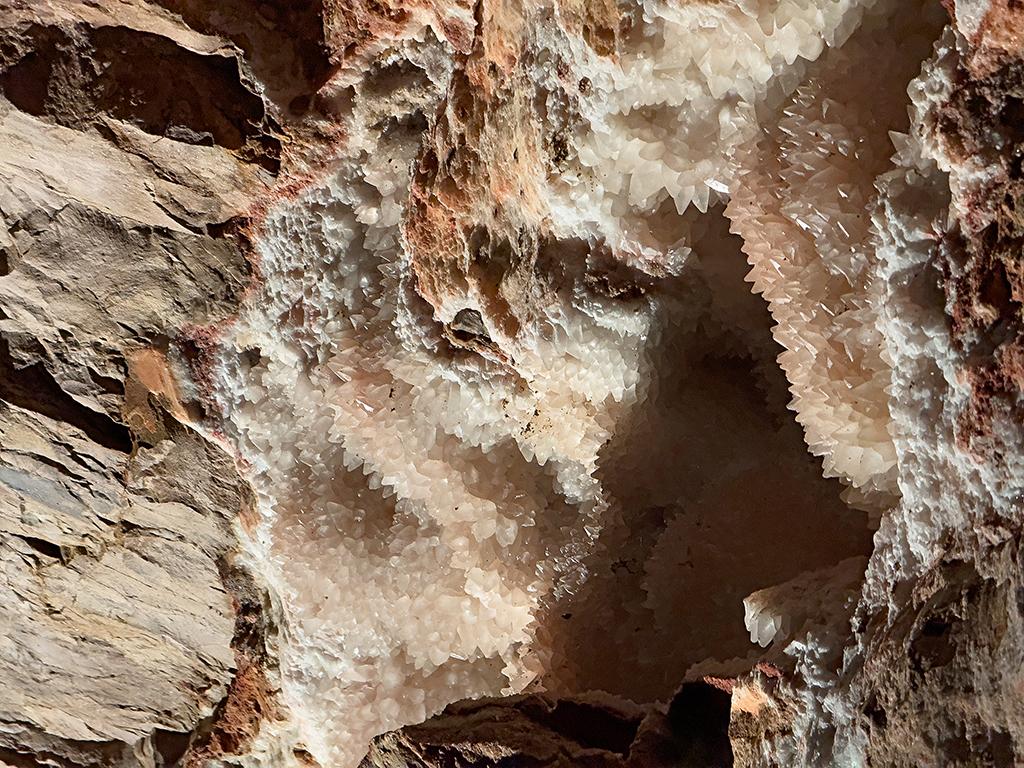
The image of dogtooth spar turned out clear and sharp for a smartphone image, thanks to all the other flashes from other cameras capturing the same view in the Target Room, Jewel Cave National Monument / Rebecca Latson
Smartphone users (which are most of you on a cave tour), can try your Night Mode setting, but be aware you need to stand still for maybe a second or more while holding your phone when utilizing that option. Since humans are not tripods and tend to move even slightly, this might create some camera blur, but maybe not much.
You can also use your built-in flash, or simply capture a cave image as you would any other photo without a flash. Smartphone camera sensors are quite good at judging the lighting circumstances in which you may find yourself, and you can get decent cave images, although not with the fine detail and quality of an SLR camera or even a point-and-shoot camera. No, I’m not denigrating smartphone cameras in the least – I use my Apple iPhone’s camera quite often. I am being realistic about your chances of a really great photo, however. Newer smartphones, like the iPhone 15, allow for the capture of TIF images, which will include much more detail than the smartphone’s jpg choice. The caveat is that a smartphone sensor is teeny tiny compared to a point-and-shoot or SLR camera sensor.
I will be honest here and tell you during my tours of Jewel Cave and Wind Cave, I thought it would be brilliant to simply use my smartphone and nothing else – it certainly would be easier to tote along. Upon reviewing the results, I have decided should I ever re-tour Jewel Cave and Wind Cave, it will be with my SLR.
That said, no matter what camera you use, you’ll need to get your shot quickly. It’s been my experience that cave tour leaders tend to walk quickly, no matter how many times you ask them to slow down. These guides know the passageways so well, they don’t need to wend their way as slowly as the rest of us might. They also must keep track of tour time to ensure the return trip to the top coincides with the next scheduled cave tour.
When on a cave tour, try experimenting with these tips and techniques. Yes, I just said tour guides tend to shepherd their attendees along at a quick pace, but my motto has always been “nothing ventured, nothing gained,” and among those experimental shots might just be the perfect tripod-less cave shot.

Photographing the dogtooth spar in the Target Room during the Discovery Tour with a smartphone camera, Jewel Cave National Monument / Rebecca Latson


