What’s a national park trip without a few photos to show family, friends, and colleagues the great time you had at the dunes, surrounded by awesome scenery? You can capture some wonderful shots at Great Sand Dunes National Park and Preserve, no matter what time of year you visit, and with any camera, be it SLR, point-and-shoot, or smartphone.

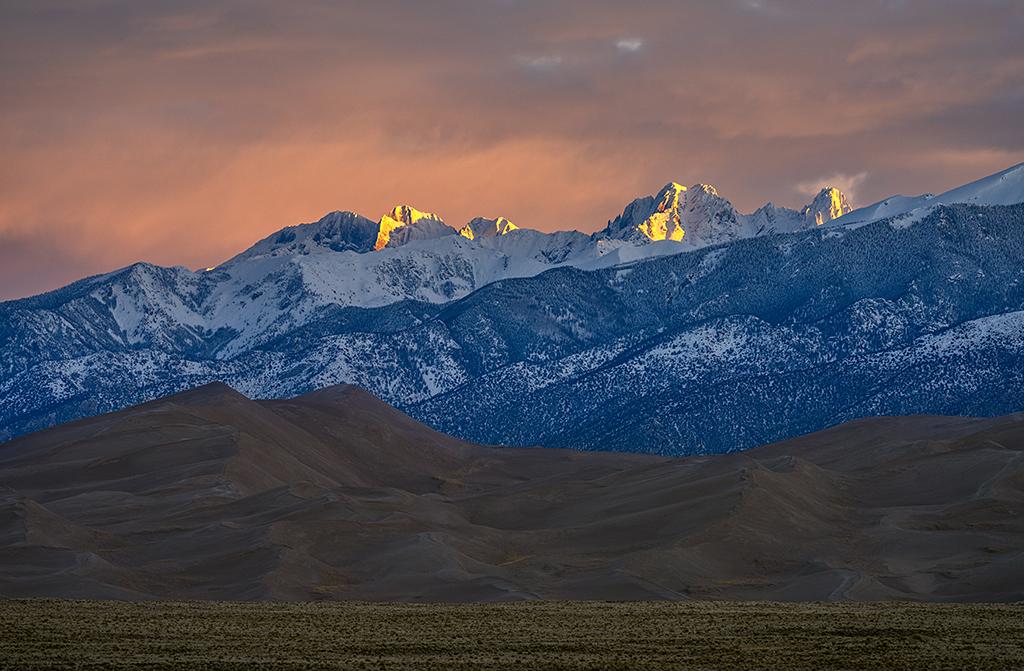
A telephoto sunrise over Great Sand Dunes National Park and Preserve / Rebecca Latson
Great Sand Dunes is a wonderful place for wide-angle imagery – particularly when capturing photos of the golden hours (sunrise and sunset). Depending upon the season you visit, you’ll want to know what times sunrise and sunset occur. Sunrise appears much later during the fall and winter than it does in the spring and summer. Sunset happens much later during the spring and summer than it does in the fall and winter.
You want as much of the dunefield and Sangre de Cristo Mountains as can fit into your composition for a wide-angle image. There are pullouts just prior to arriving at the park’s entrance booth where you can hop out of your vehicle and capture a photo right there, or wend your way out into the landscape for a different perspective. Careful where you tread, though, as there is cactus all around which you might not see during pre-sunrise and after-sunset darkness.
Almost immediately after the turnoff from Colorado Highway 150 onto Lane 6 North (heading toward Mosca, CO) is a paved pullout with a fantastic wide-angle view of the entire park, from sand sheet to mountain watershed. It’s perfect for those wide-angle sunrise and sunset shots.

Sunset from the pullout at the junction of Colorado Highway 150 and Lane 6 North looking toward Great Sand Dunes National Park and Preserve / Rebecca Latson
Get there just before sunrise or stick around just after sunset and you can capture those “blue hour” shots, too. Blue hour is the time when the landscape and sky are bathed with blues, pinks, mauves, and purples before the sun climbs the horizon or after it sets. Oh, and blue hour doesn’t really last an hour – more like a few minutes – so you’ll want to have your camera and tripod all set up for these images.
Another nice spot for both wide-angle and telephoto shots is the patio area right behind the park and preserve’s visitor center. You’ll have a closer view of the dunes and mountains from a different perspective. Zoom even closer toward those dunes or mountains with your telephoto lens or setting to capture details not as noticeable in a wider-angle image.

Sunrise over the mountains as seen from the rear of the visitor center, Great Sand Dunes National Park and Preserve / Rebecca Latson
FYI, telephoto lenses are not only great for zooming in on a feature or wildlife, but also for capturing close detail of wildflowers, tree bark, insects, or even the sand on the dunes.
For low-light images like sunrise or sunset, you should really use a tripod. You don’t have to, but it reduces the blur resulting from camera shake – even slight camera shake – and you’ll have greater freedom to play around with setting slower shutter speeds and wider lens apertures (smaller f-stops). There are even tripod mounts for smartphones. Amazon sells several different brands. Just use “smartphone tripod mount” for your keywords to pull up the choices.
If you utilize an SLR camera on a tripod, use a shutter remote (wireless or corded), or your 2-second timed delay to reduce vibration caused by your finger pressing down on the camera shutter button.
Consider attaching a graduated neutral density filter (grad ND) to the front end of your lens for compositions where part of the horizon is bright and the other part is shaded. Grad ND filters – round or rectangular – are half clear, half shaded. The shaded part of the filter should be used against the bright top horizon. This allows you to expose for the darker area of the landscape without “blowing out” (overexposing) the lighter area.
Speaking of filters, a sunny day in the park will mean bright, maybe even harsh light and perhaps some glare. You might also encounter a little haze in the atmosphere. To cut down on haze and glare and to add some color saturation to your composition, consider using a circular polarizing filter (CPL). These filters screw on to your lens front and work along the same principle as your sunglasses by reducing and even removing glare and overly-bright light. Even on a cloudy day, if the sun is at an angle, a CPL highlights whatever cloud texture exists for a more dramatic look.

A moody winter afternoon, Great Sand Dunes National Park and Preserve / Rebecca Latson
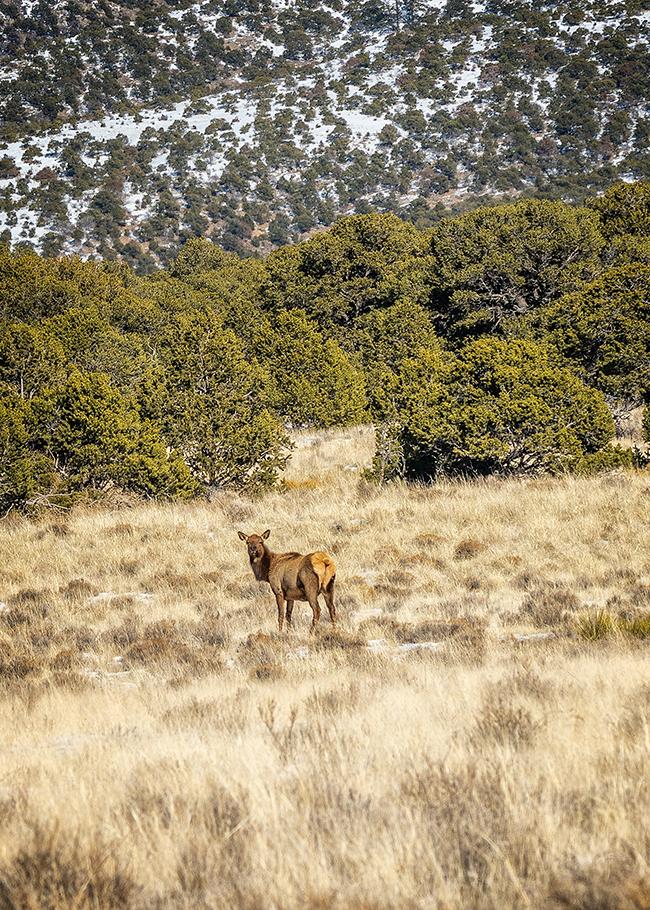
You might spy wildlife during your visit - perhaps elk or pronghorn or mule deer. Have your telephoto lens or setting ready for such an opportunity. If your lens doesn’t have quite the reach, you should still photograph that wildlife to show your viewing audience the environment in which the animal lives and roams. Just remember to keep a safe distance of 300 feet (91 m) from that wildlife for you and their protection.
To capture clear shots of wildlife in motion, you should apply the “burst method” and keep your finger pressed down on the shutter button for a series of successive clicks. Experiment with your camera’s ISO and shutter speed settings, too. An ISO of 640 or higher allows you to use a much faster shutter speed, which helps in freezing wildlife motion for a clear shot with nice lighting. The burst method takes up space on your memory card, so remember to carry extra cards with you, and pack extra batteries as well as battery charger.

You might see one or more elk during your visit to Great Sand Dunes National Park and Preserve / Rebecca Latson
Great Sand Dunes is a certified International Dark Sky Park, so stay up past your bedtime for a little star gazing and night sky photography. For this, a tripod is a must. Camera motion means blurry stars. As with wildlife in motion, a higher ISO 80 or higher, wider aperture (f-stop of 1.4 – 4.0) and longer shutter speed of 5 to 30 seconds allow the camera to capture whatever waning light is available.

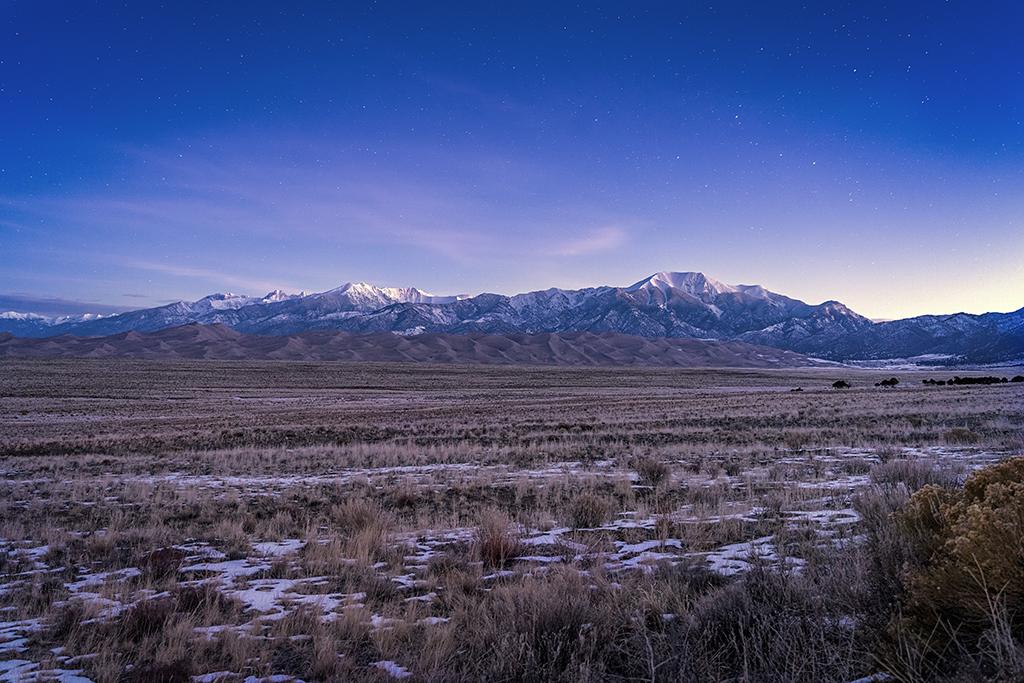
While not exactly a night sky shot, you can still see the stars, even as the sky begins to transition from inky night to brightening sunrise, Great Sand Dunes National Park and Preserve / Rebecca Latson
Your camera’s auto focus won’t work in the dark, so you’ll need to manually focus the lens. A good idea is to stake out the area where you wish to capture night shots earlier in the day – perhaps before or around sunset – for the auto focus to work. Once you have your camera set and you’ve focused using auto focus, switch to manual focus and wait for the stars to pop out.
Bear in mind your night sky photos may be a little on the “noisy” (grainy) side, due to using a high ISO. There are all sorts of noise reduction plug-ins on the market, such as Imagenomic or Topaz DeNoise AI, that will reduce / remove the graininess.
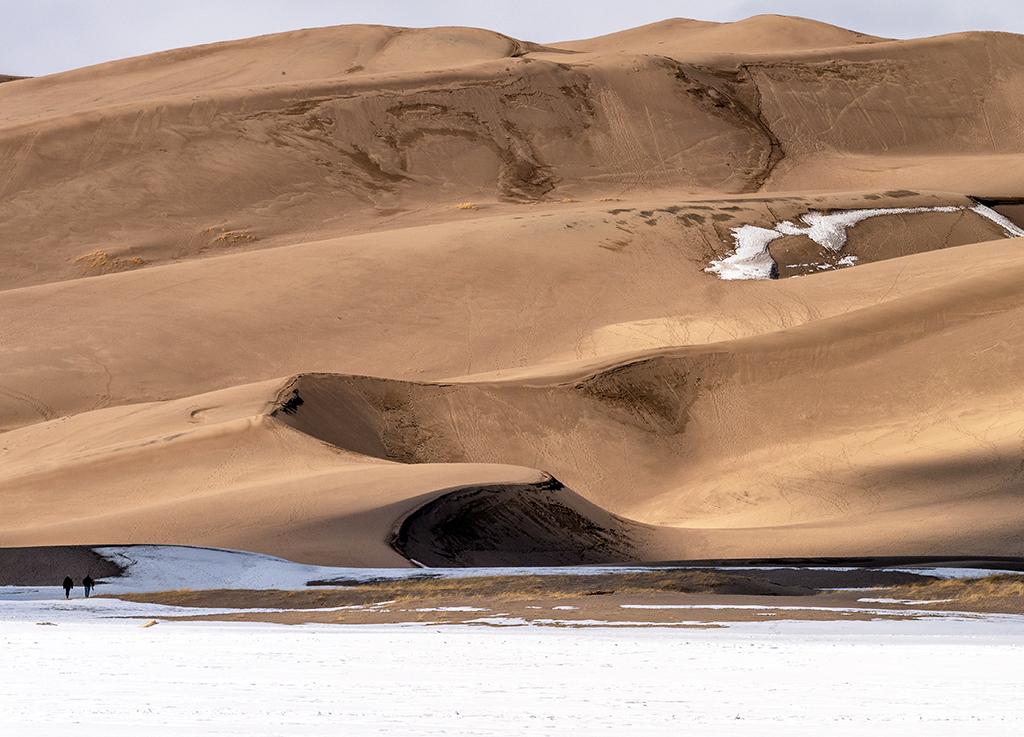
Capture some compositions with people in them, be they you and your family, or other people. Humans and recognizable objects like cars or fences or buildings add reference as well as scale to an image. Your viewing audience automatically knows the sand dunes are large, but the addition of those tiny specks of people climbing the dunes will impress upon them just how huge that dunefield is.

Winter sunlight and shadow over the dunes, Great Sand Dunes National Park and Preserve / Rebecca Latson
Most of all, remember to photograph what interests you, be it a wildflower, tree bark, colorful rocks, the abstract shapes dune ripples create, or the vast landscape around you.


