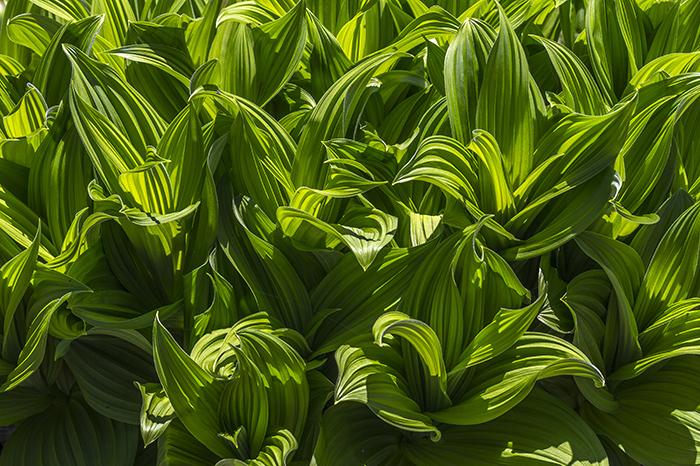
Saturated plant texture and color, Mount Rainier National Park / Rebecca Latson
In a previous article for the Traveler, I asked you to focus some of your photography on the little things you see during your visit to a national park. In this month's article, I'm asking you to focus on three properties that will add another chapter to your ongoing national park photographic story.
Texture, pattern, and color exist everywhere in nature, from the shape and shade of a common sunflower’s petals in Padre Island National Seashore to winter’s circular design formed around a rock in Lake McDonald at Glacier National Park to the texture of ice covering the ground in sub-zero temperatures at Arches National Park.
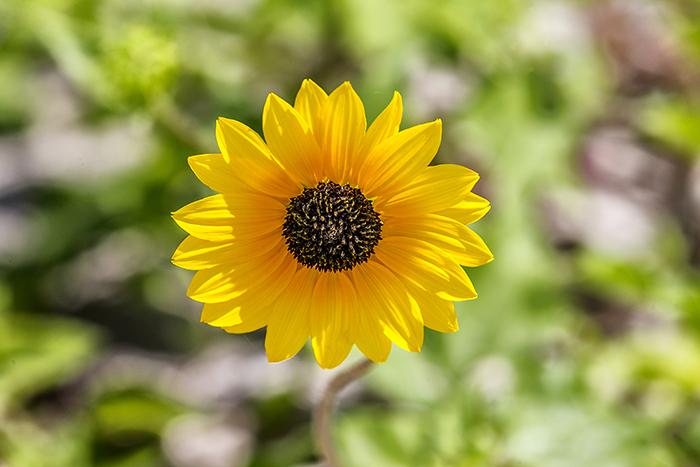
Color and petal pattern of a common sunflower, Padre Island National Seashore / Rebecca Latson
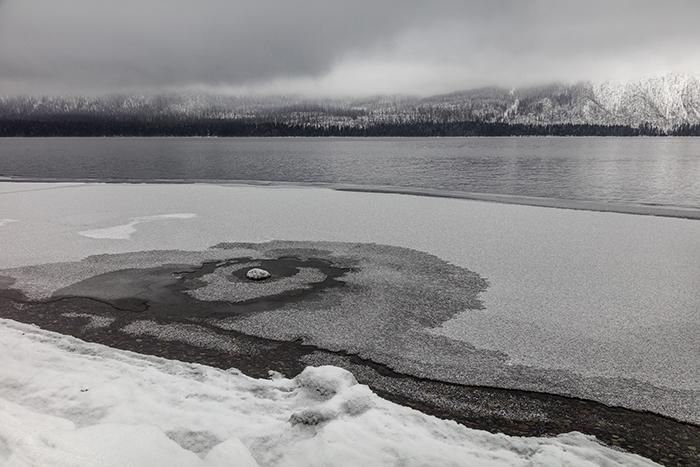
An icy winter pattern at Lake McDonald, Glacier National Park / Rebecca Latson
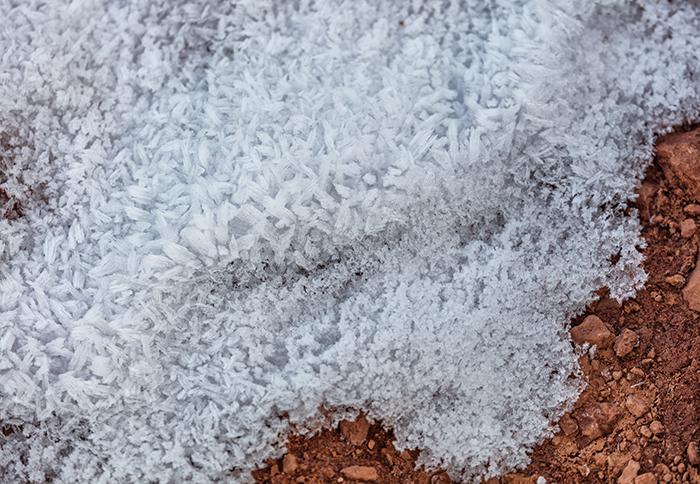
The texture of an icy ground cover, Arches National Park / Rebecca Latson
On a conscious or sub-conscious level, you perceive these properties whether you capture a wide-angle landscape, a telephoto, or a macro close-up in a national park. Texture, pattern, or color might jump right out at you, or you might need to step back a moment to contemplate the scene and your photo composition.
Let’s say you are walking through a lowland forest in Mount Rainier National Park. If it’s a sunny day, you’ll see shafts of sunlight streaming through the branches and maybe little dust motes dancing in the light. As your eyes accustom themselves to the dimmer woodland interior, you’ll discern the many shades of green enveloping you. You’ll recognize moss draped on the tree branches.
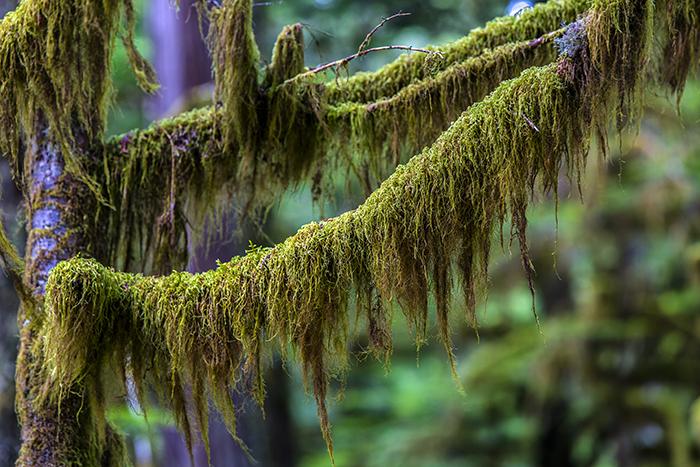
Moss drapery, Mount Rainier National Park / Rebecca Latson
What is the texture of that moss? Perhaps, you'll be tempted to capture a close-up image of that texture, or perhaps a wider shot of green moss contrasting with the dark brown tree bark. You might even choose to photograph a wide-angle view of moss, trees, and logs for a composition filled with many greens and browns.
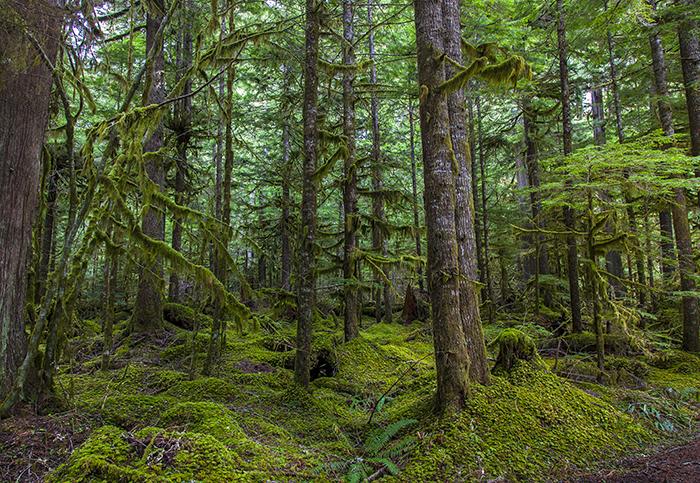
Mossy forest greens, Mount Rainier National Park / Rebecca Latson
Higher in elevation at Mount Rainier, while standing along the pavement at the Tipsoo Lake overlook with your camera aimed toward “The Mountain," why not take a moment to turn around and face the opposite side of the road? Do you see any interesting patterning or textural variances created by the overlapping conifer branches with their yellow-green tipped needles?
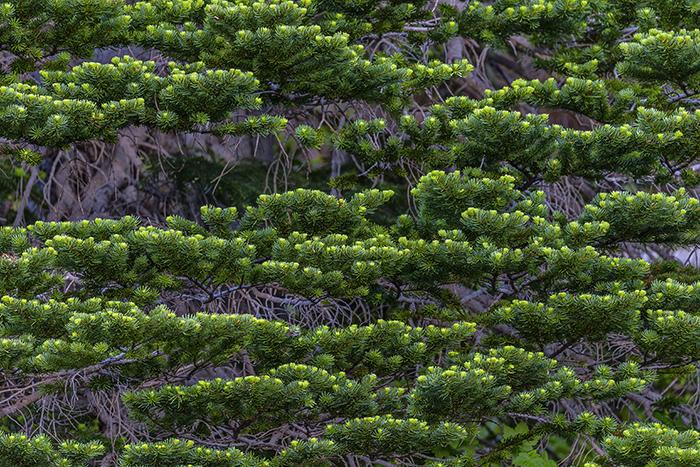
Evergreen patterning, Mount Rainier National Park / Rebecca Latson
If you are walking along a narrow forest trail in Lake Clark National Park and Preserve, it’s quite possible you might spy a patch of coarse fur left by an Alaskan brown bear after scratching its back against the tree trunk. Again, you might photograph the fur’s texture close-up, or zoom out to get a picture of contrasting textures between fur and tree bark.
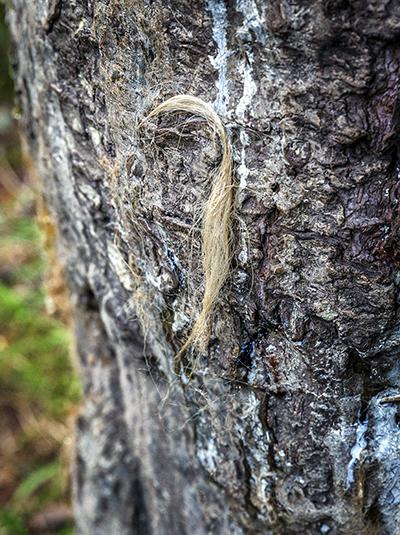
Bear hair, Lake Clark National Park and Preserve / Rebecca Latson
Leaving the bear fur behind and emerging from that forest into the late-summer sunlight, you might enter a field of golden grass dotted with delicate spider webs, the silk strand pattern bejeweled by the morning dew that sparkles like gems in the sun.
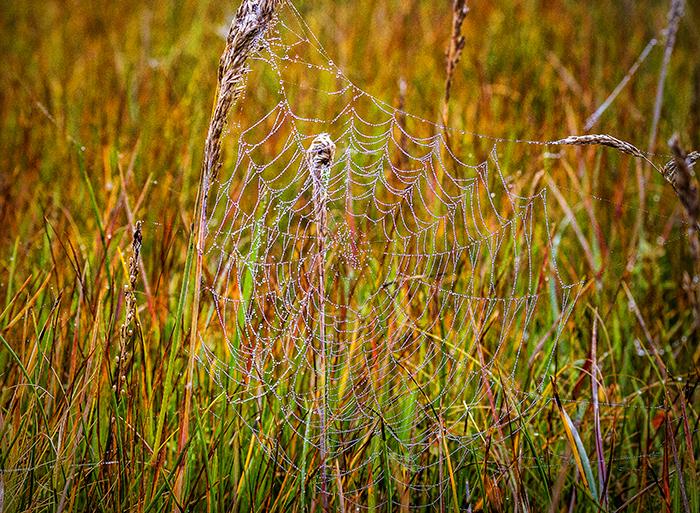
Bejeweled spider web, Lake Clark National Park and Preserve / Rebecca Latson
Speaking of pattern and color, you’ll see laid bare the geologic timetable within the layers of red-orange, pink, and buff-colored sandstone in Canyonlands National Park, as well as in the exposed layers composing the cliffs of Grand Canyon National Park, and alternating sandstone cross-beds and weathered joints in the lithified ancient sand dunes seen along the Zion-Mount Carmel Highway as you head toward the iconic Checkerboard Mesa in Zion National Park.
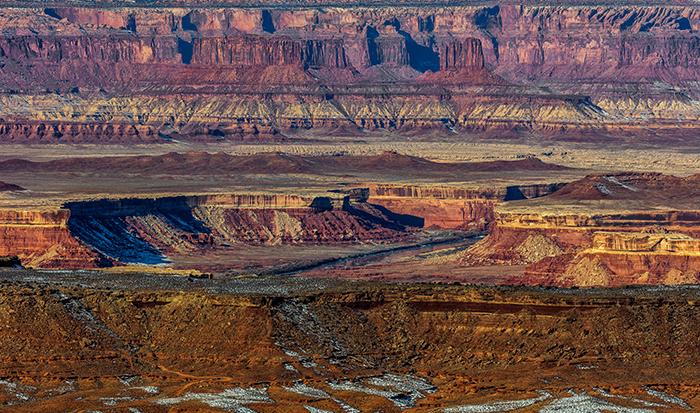
Sandstone layers at the Green River Overlook, Canyonlands National Park / Rebecca Latson

Layers of geology, Grand Canyon National Park / Rebecca Latson
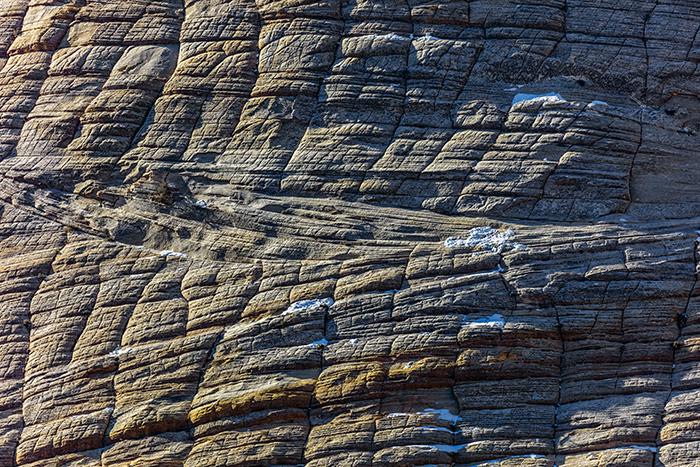
Close-up texture of cross beds and weathered joints in Checkerboard Mesa, Zion National Park / Rebecca Latson
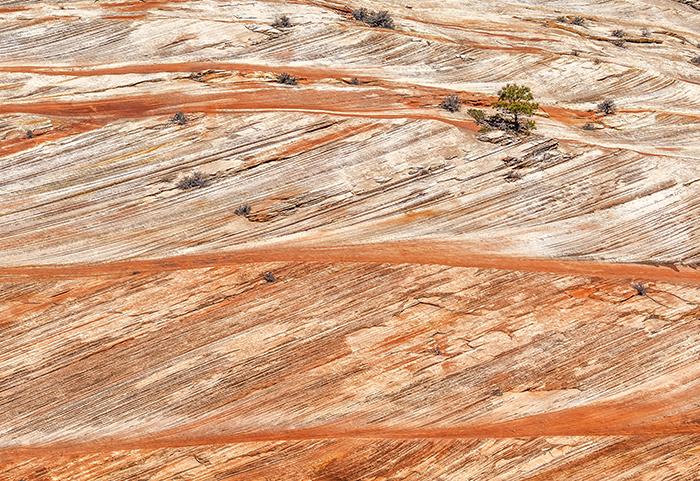
Ancient sandstone cross-beds, Zion National Park / Rebecca Latson
Texture, pattern and color can be seen in the tallest canyon walls down to the smallest flowers carpeting the ground. Once you train your eye to start noticing these things, the next step is to capture what you see in an image that will grab your viewer’s attention and make a worthy addition to your national park photo gallery. To accomplish this, I make regular use of five techniques, one or more of which have popped up in previous articles I've written for the Traveler. You can use just about all of these techniques with any camera (SLR, point-and-shoot, or smartphone).
1. Fill the frame. Move in close to your subject using a regular, telephoto, or macro lens (or macro setting), or crop a wider-angle shot for a close-up while removing extraneous details to better highlight your photo’s subject.
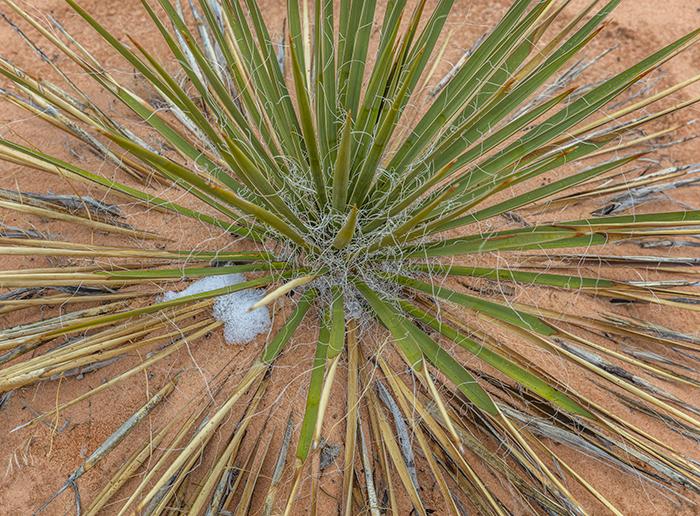
Filling the frame with something spiky, Zion National Park / Rebecca Latson
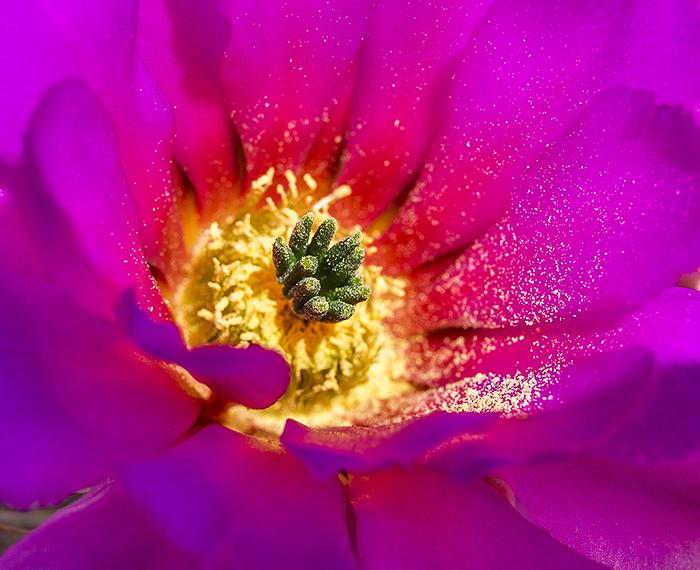
Filling the frame with color from a strawberry pitaya cactus bloom, Big Bend National Park / Rebecca Latson
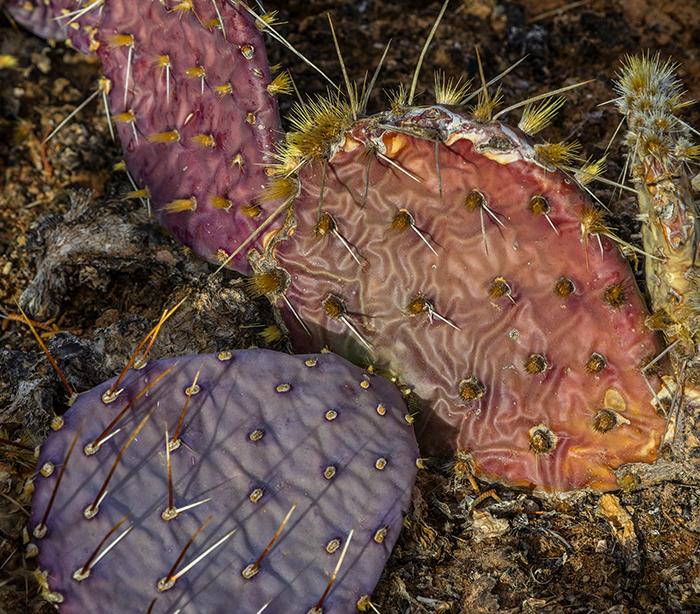
Filling the frame with the pattern, texture, and colors of a purple prickly pear cactus, Canyonlands National Park / Rebecca Latson
2. Look for elements with contrasting colors, patterns, or textures. The eye tends to focus on subjects that stand out because of a color, pattern, or textural contrast. With that in mind, look around your environment to see what contrasts attract your attention.
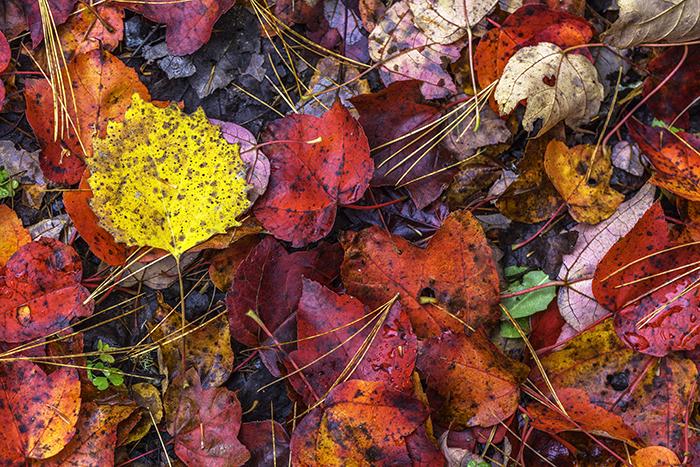
Standing out in a crowd, Acadia National Park / Rebecca Latson
3. Use a lens with a shallow depth of field (DOF). A shallow DOF isolates the subject, creating a pleasant background blur referred to as "bokeh." This technique looks good with subjects exhibiting busy patterns, like the flowerets topping off a stem of beargrass. Lenses that work well with this technique are 50mm, 85mm, 135mm, 70-200mm, and 100-400mm. Keep your lens aperture "wide open" (i.e. use the widest f-stop your lens allows, anywhere from f1.2 to f4).
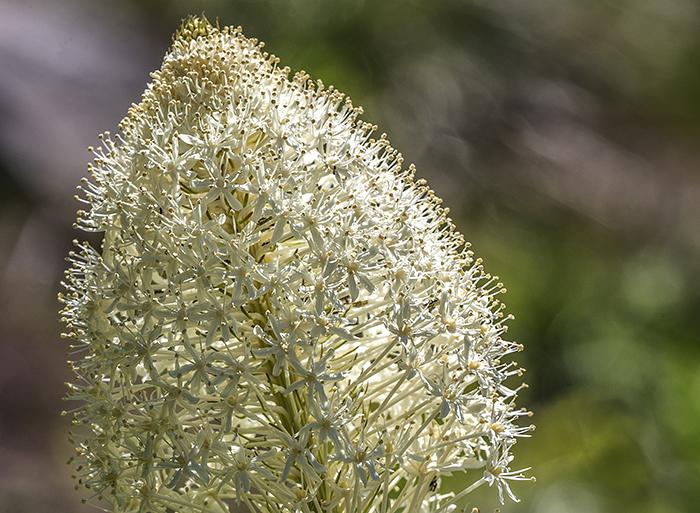
Beargrass and bokeh, Mount Rainier National Park / Rebecca Latson
4. Try some post-process vignetting. Have you ever looked at the old-time photographs of people with serious expressions, sitting or standing against a plain background? Do you notice that circle or oval of darkness surrounding the people? Does this automatically draw your eye toward the subjects in the center? Vignetting creates a "frame" by darkening the borders of an image to highlight the subject(s). Your photo editing software may have a vignette tool, preset, filter, or slider that will permit you to darken the corners and edges of your image.
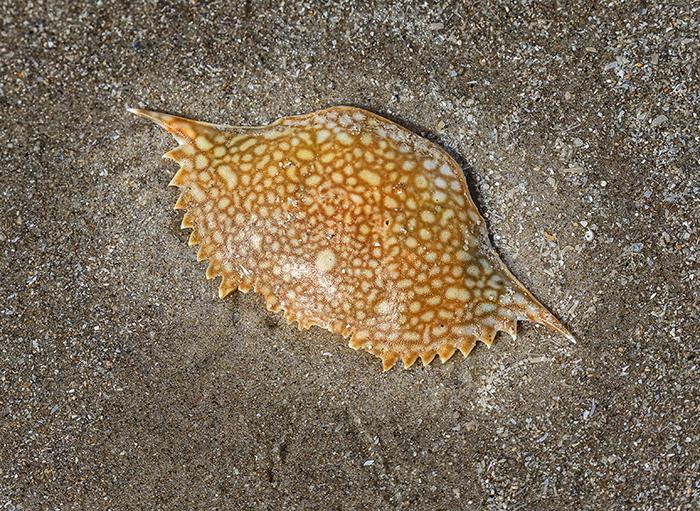
A speckled crab carapace, Padre Island National Seashore / Rebecca Latson
5. Convert your image to black and white. I know most of you prefer a color image to black and white, but this technique works successfully for many subjects. Aside from thinking about Ansel Adams and his amazing monochrome landscapes, think about how well this method brings forth and accentuates those nuances of texture, pattern, light, and shadow. Play around with it before pooh-poohing it. All photo editing software has a tool, filter, or preset for converting an image to monochrome, and you can also download conversion plug-ins like Google's Nik Silver Efex Pro 2. If you are an Instagrammer, then you'll have a nifty set of monochrome filters at your fingertips. Your smartphone will also have access to numerous photo editing apps with monochrome filters included. Take an original saved image, re-save it under a different name, and apply your monochrome tool. You'll probably still like the color image better, but I think you will also agree that textures and patterns tend to pop out a little more using black and white. Monochrome versus color is a subjective choice, just like photography, itself, is a subjective art.

Textured leaves in black and white, Mount Rainier National Park / Rebecca Latson
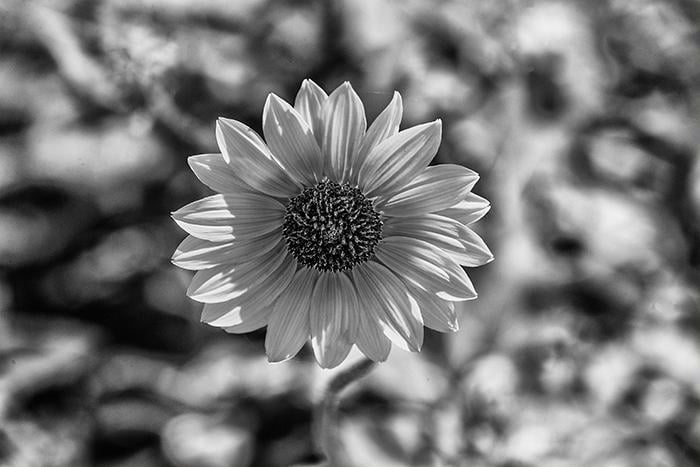
Petal pattern and texture of a common sunflower in black and white, Padre Island National Seashore / Rebecca Latson
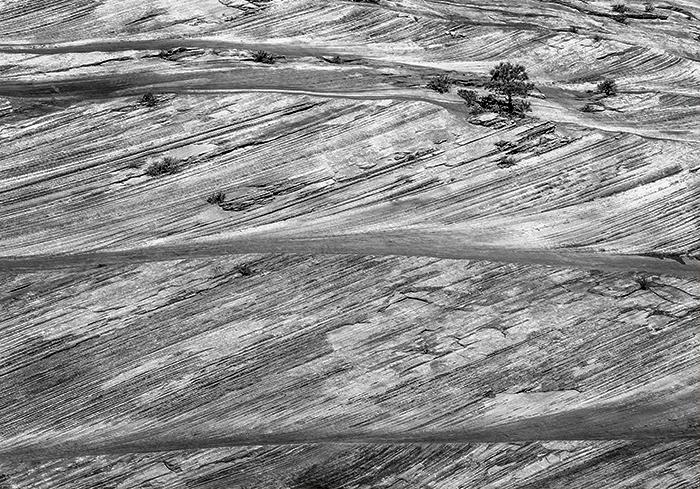
Ancient sandstone cross-beds in black and white, Zion National Park / Rebecca Latson
During your next national park visit, look for, and then make a point of, singling out a composition for its texture, pattern, or color. Try one or more of these five techniques or devise a technique of your own. Not only will this create further viewer interest in your images, but you'll be improving your powers of observation. Photography is all about observation and how you capture your observation.
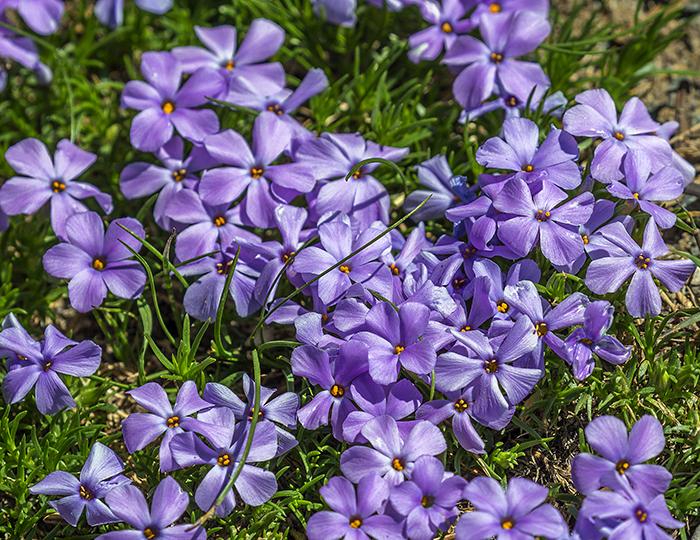
The pattern and color of spreading phlox, Mount Rainier National Park / Rebecca Latson


 Support Essential Coverage of Essential Places


Comments
I get stuck in a rut and only look for broader landscapes. Appreciate your "reminders" to look closer, for more intimate "landscapes". Also need to try some B&Ws with my photos. Thanks for your articles. :)
Good article, Becky. And great photos!
Was the bear blonde? Sure looks like blonde hair ;>)