Map of the Grand Loop Road in Yellowstone National Park / NPS graphic
I recently finished uploading an article about Yellowstone National Park for the Traveler’s A Day In The Park series (you’ll see it sometime in April). One of the things I mentioned was the park’s Grand Loop Road, a 142-mile (228.5-kilometer) route that looks sort of like a figure-eight neuron with five squiggly dendrites sticking out from it. I wrote that while you could ostensibly drive this figure-eight road in a day, it would be a really long day, and that’s not counting the pullouts, overlooks, and geyser basin areas at which you would be stopping.
Regardless whether you have a single day or multiple days to spend at Yellowstone, what would you see if you did choose to take yourself and your camera into the park along the Grand Loop Road?
America’s first national park is chock full of amazing sights, so probably the first thing you should do is pull the park map and plan out your day (or days) of driving along the Grand Loop. Remember, 142 miles is a lengthy drive at 35-45 mph, depending upon the posted speed limit.
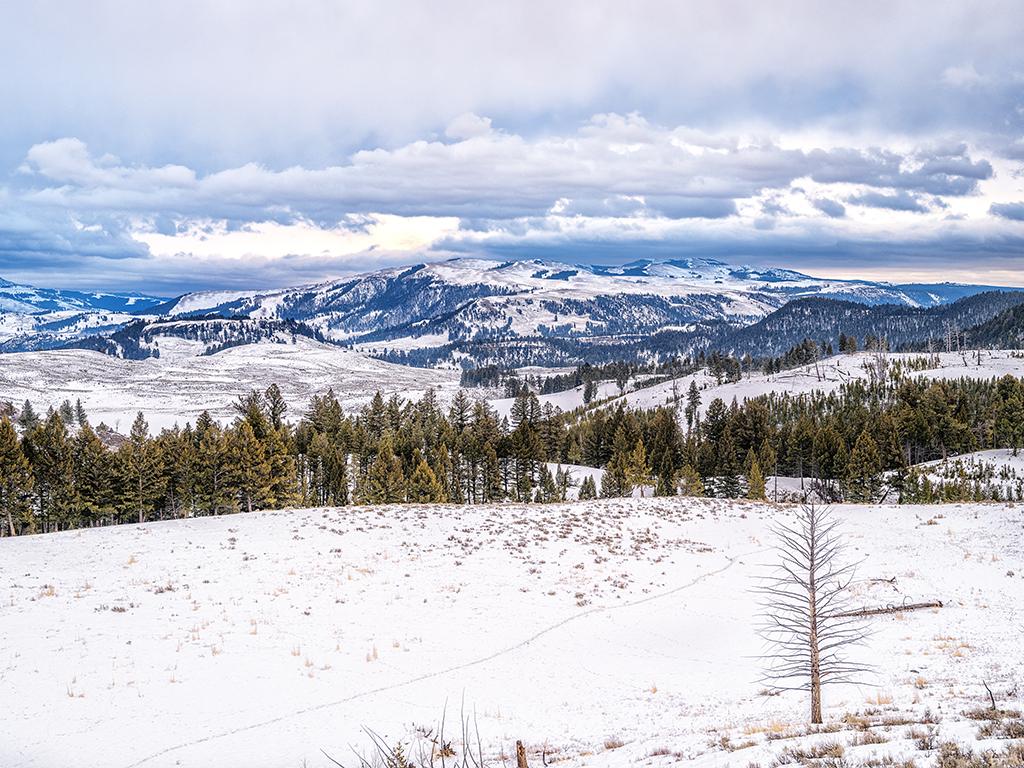
I’ve traveled the entire Grand Loop three out of my four visits. This includes traveling on that road during the winter, although the only way to see more than just the part heading toward Cooke City is to take a guided snowcoach or snowmobile tour. The images in this article are a mix of summer, fall, and winter shots, day and evening. You might wish to start your own photography day pre-dawn, or maybe later in the morning when it’s lighter outside.
Note: None of these images reflect photo ops along the road to Lamar Valley, or south of Yellowstone Lake, or west toward West Yellowstone. This article is just about photo ops along the Grand Loop Road.
Let’s start from Mammoth Hot Springs and head east toward Tower-Roosevelt Junction.

Heading east along the Grand Loop Road toward Tower-Roosevelt Junction, Yellowstone National Park / NPS graphic

Mammoth Terraces in the distance, Yellowstone National Park / Rebecca Latson
If you start your adventure during daylight hours, plan to stop after crossing the bridge over the Gardiner River. Capture wide-angle and telephoto shots of Mammoth Terraces. Normally, when you visit the terraces, you are right there, up close, and personal. What you see from the other side of the bridge is a much broader perspective of this hydrothermal area.
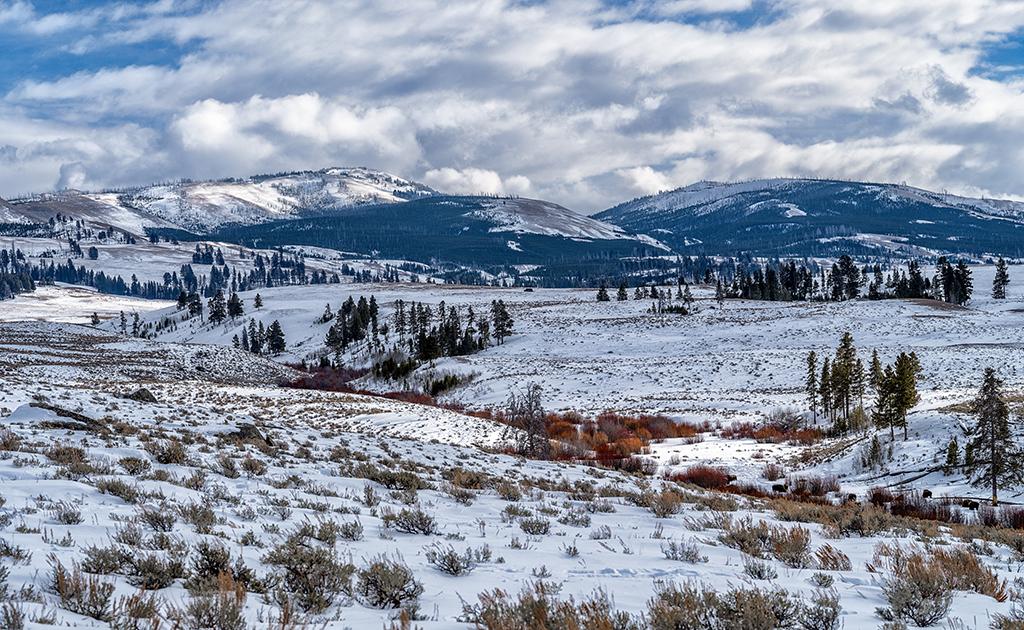
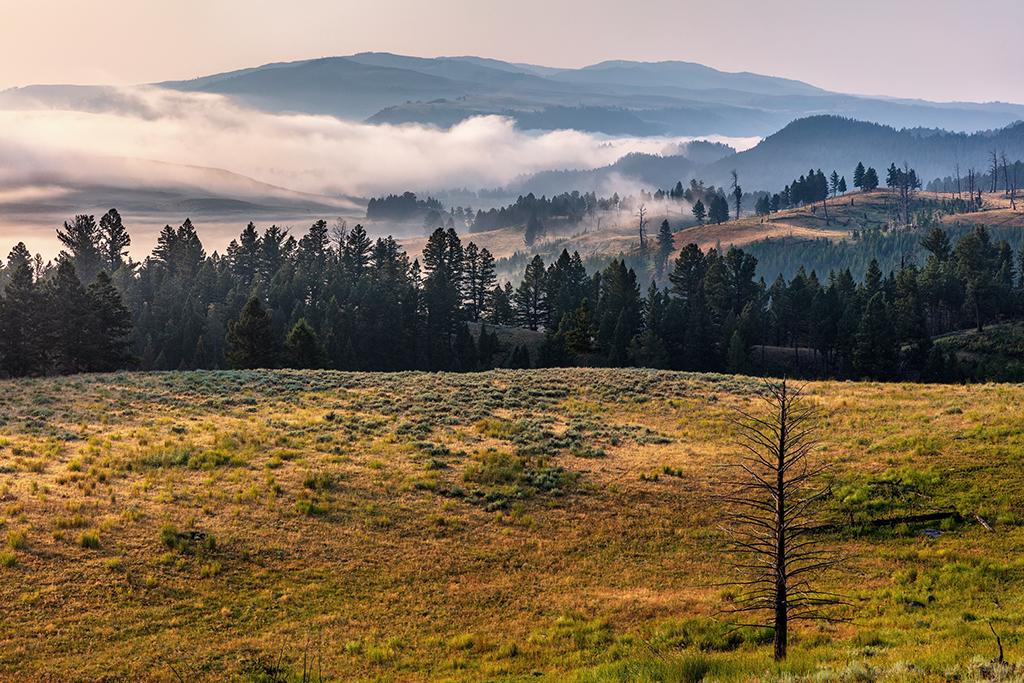
A winter view of the landscape heading east on the Grand Loop Road, Yellowstone National Park / Rebecca Latson
Stop and photograph whatever grabs your attention. The puffy clouds over a sun-dappled winter landscape captured my attention. You can even see a few bison in the lower right corner of the shot. The snow and white clouds created an extremely bright composition. I needed to ensure the snow highlights were not “blown out” (overexposed), so my ISO was lower, my aperture smaller, and my shutter speed considerably faster to prevent too much light getting to the camera sensor. ISO 160, shutter speed 1/320, aperture f8.

Blue hour at Blacktail Pond, Yellowstone National Park / Rebecca Latson
Blacktail Pond is about six miles (9.7 kilometers) east of Mammoth. This shot was captured during “blue hour” (which doesn’t really last an hour). Blue hour is that time just before sunrise or after sunset, when the sky and landscape are still bathed in shades of blue, purple, and mauve. A tripod is practically mandatory for blue hour photography in order to utilize a slower shutter speed and a wider aperture, thus preventing underexposure. Btw, the aperture is the opening between the lens and your camera’s sensor. The larger the aperture opening, the more light allowed onto the sensor. Some lenses even have a ring around them labeled with a series of numbers. Those numbers represent “f-stops” which in turn represent aperture opening sizes.
FYI, If your camera has a 2-second timer, use that to prevent camera vibration from your finger pushing down on the shutter button. Yes, even a teeny bit of vibration can affect the sharpness of an image – especially a low-light one. ISO 250, shutter 1/6, aperture f8.

A winter view at Blacktail Pond, Yellowstone National Park / Rebecca Latson
Depending upon the time of year you visit, Blacktail Pond might be iced over and the ground blanketed with winter snow. You might also see a herd of bison there, winter or summer. These shaggy behemoths add a nice touch of scale and reference to the Blacktail Pond landscape. ISO 250, shutter 1/320, aperture f9.
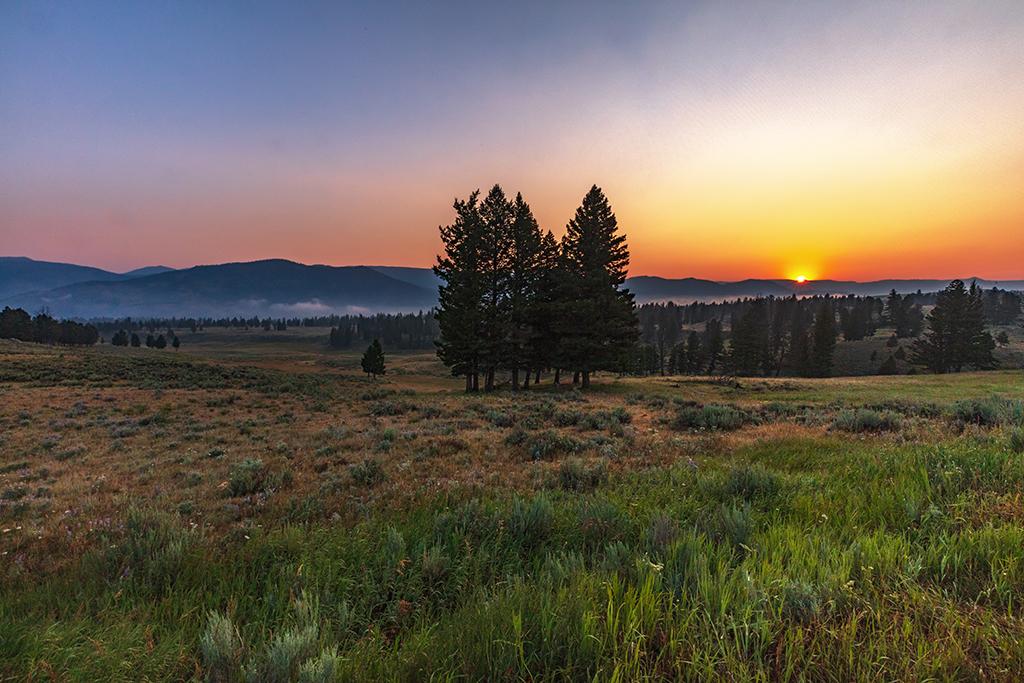
The beginning of sunrise, Yellowstone National Park / Rebecca Latson
Between Blacktail Pond and Floating Island Lake are pullouts on the left side of the road to park your car and set up your tripod and camera for sunrise. Point your tripod setup eastward and experiment with shutter speeds and apertures. For sunrise, I like to attempt a sunburst effect (pointy rays extending from the sun). Use the smallest aperture your lens allows and adjust your other settings to prevent total underexposure of the composition. ISO 400, shutter 1/20, aperture f22.
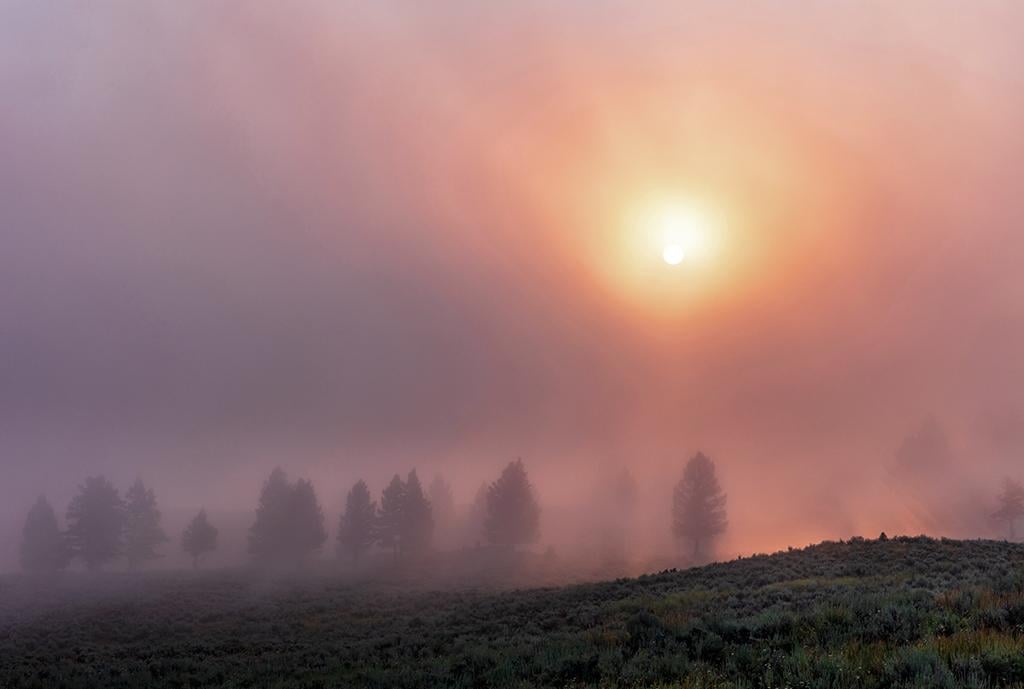
A steamy morning backlit by the sun, Yellowstone National Park / Rebecca Latson
Along the route, you might notice unique atmospheric peculiarities, such as hydrothermal steam backlit by the morning sun. Mornings are steamiest in the park (also smelliest – all that sulfur, you know), because the temperature is still cool, even in the summer. ISO 125, shutter 1/25, aperture f14.

A winter morning over Yellowstone landscape between Blacktail Pond and the road to Hellroaring Trailhead, Yellowstone National Park / Rebecca Latson
Heading east past Blacktail Pond, there’s a left turn onto a small dirt parking area offering a vast view of the park landscape. It’s an easy turn off to miss and I cannot remember if there is a sign naming this spot. It’s perhaps a mile or so before reaching the road to Hellroaring Trailhead. I happened to arrive one morning during the blue hour. The sun had not risen but it was lighting up the sky between those winter clouds. ISO 400, shutter 1/40, aperture f7.1.
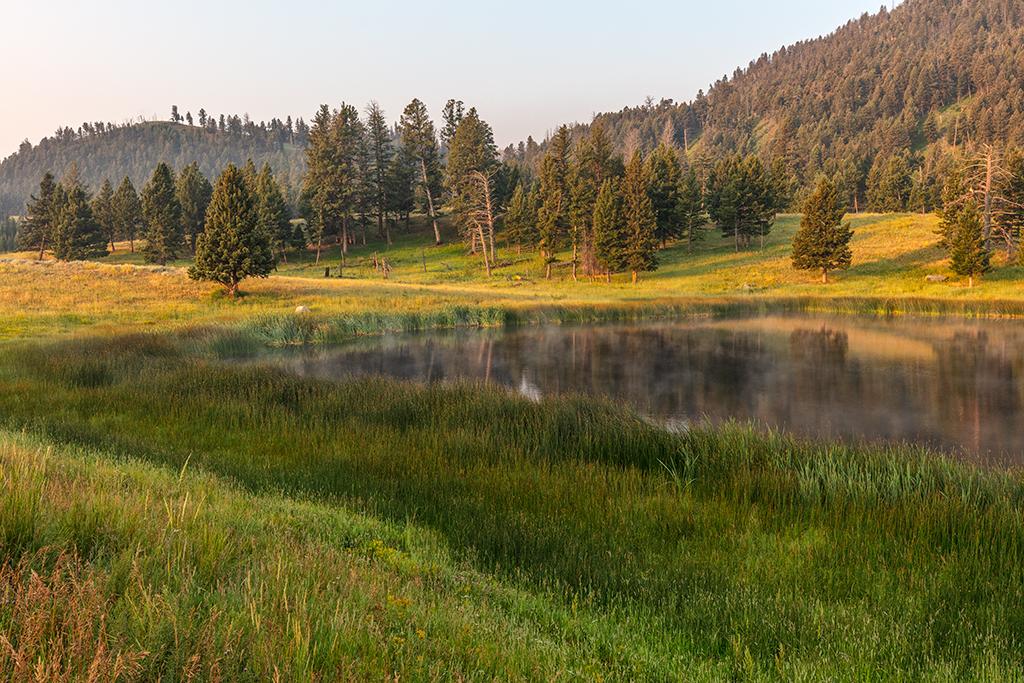
Early morning sunlight over Floating Island Lake, Yellowstone National Park / Rebecca Latson
Floating Island Lake lies on the right side of the road just past the left turn toward Hellroaring Trailhead. You can use a wide-angle lens to capture the entirety of the lake, or you can do what I did for this shot where I concentrated on just a portion of the lake and landscape bathed with golden sunlight. While you are there, just stop and listen for a moment. On the day I visited, I had never heard so many different birds singing, croaking, and cawing from the wetlands and the trees. ISO 160, shutter 1/40, aperture f9.
A sunny, misty morning on the way to Tower-Roosevelt Junction, Yellowstone National Park / Rebecca Latson
As one gets closer to the Tower-Roosevelt Junction turnoff, there begin a series of small pullouts all the way down slope offering amazing views of the Yellowstone landscape about a mile (1.62 kilometers) prior to the righthand turn for the Petrified Tree Exhibit. The angle of the sun as well as any morning steam really add character to this already stunning landscape. ISO 125, shutter 1/40, aperture f11.
The same scene as above, only during a different season and time of day, Yellowstone National Park / Rebecca Latson
Visit this same spot during autumn or winter, and the landscape will look totally different. The only thing remaining the same is the one bare tree in the lower right of the image. ISO 400, shutter 1/40, aperture f6.4 (I think I still had the ISO set for a darker, more forested portion of the road I’d photographed earlier, because I needed to darken the exposure a bit during the editing stage).

The view from the Roosevelt Lodge porch, Yellowstone National Park / Rebecca Latson
Once you arrive at the junction where you can either turn left toward the Lamar Valley, or right to continue the Grand Loop tour, why not stop in for breakfast or lunch at the historic Roosevelt Lodge, if it is open. The operating season runs mid-June to early September. Before or after your meal, stand just outside the entrance doors to the main lodge and use a wide-angle lens to photograph the view from the porch. The porch roof and stair railings provide a nice natural frame bordering the scenery beyond. Natural frames tend to focus the eye even more toward a composition’s main subject.
This was a handheld shot rather than setting the camera on the tripod. I used what is called the “burst method,” meaning I pressed down on the camera’s shutter button for several clicks. Using the burst method generally ensures at least one sharp, clear shot out of the series of shots captured. This tends to take up memory card space, though, so make sure you have spare cards. ISO 160, shutter 1/125, aperture f8.
The biggest piece of photographic advice I can give to you is to stop whenever the mood hits you and there are wide shoulders, pullouts, or designated parking spaces. Don’t just stop because you see another photographer there. They may be photographing something totally uninteresting to you. Be curious, use your observational skills, and photograph what interests you the most.
As you can tell from the title’s Part 1, there is plenty to see and experience just on this figure-eight road. Stay tuned for Part 2 next month.