The Grand Loop Road with the route from Tower-Roosevelt Junction to West Thumb Geyser Basin outlined, Yellowstone National Park / NPS graphic
If you read my February Traveler article about photography along Yellowstone National Park’s Grand Loop Road, you’ll have seen a sampling of shots you can achieve with your own camera (smartphone, point-and-shoot, or SLR) while driving that portion of the road from Mammoth Hot Springs to Tower-Roosevelt Junction. This month, we’re continuing further along this park road, heading south from Tower-Roosevelt Junction all the way to Grant Village Campground bordering the West Thumb portion of Yellowstone Lake. Along the route, you will see samples of imagery you might photograph yourself.
Note: The images in this article were captured during different seasons (summer, fall, winter) and years (2018 – 2024).
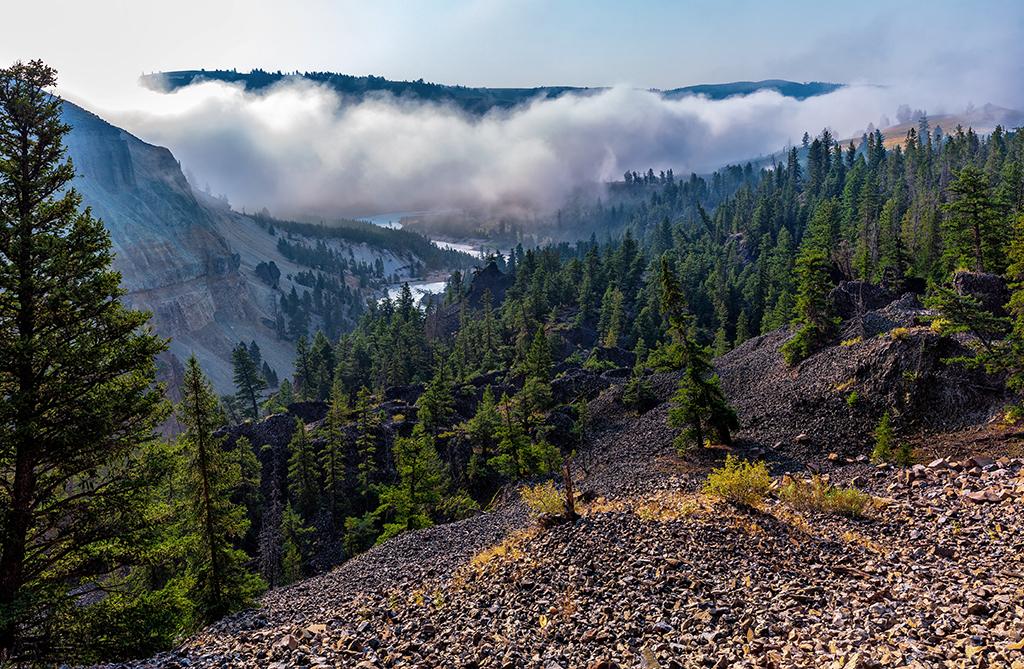
A little under two miles (3.2 kilometers) from Roosevelt Lodge is the turnoff to the parking area for the Calcite Springs Overlook. Park your vehicle and hike the very short trail up to the fenced view area to gaze down at the deep canyon through which cuts the sine wave of the Yellowstone River. Sulfurous Calcite Springs steams to your left along the riverbank. To your right is a line of columnar basalts just below the cliff top, a remnant of an ancient lava flow. I photographed this scene early one summer morning using my wide-angle 16-35mm lens, making certain to include a little bit of the yellow flowering plant on the right corner foreground to create an anchor to the composition.

Calcite Springs and the Yellowstone River below, ISO 125, shutter speed 1/40, aperture f9, Yellowstone National Park / Rebecca Latson
Shortly after leaving the Calcite Springs Overlook, you’ll have the chance to stop at another small parking area with a vista looking down upon the Yellowstone River from a different perspective.
Watching the Yellowstone River continue its southward flow, ISO 125, shutter 1/40, aperture f11, Yellowstone National Park / Rebecca Latson
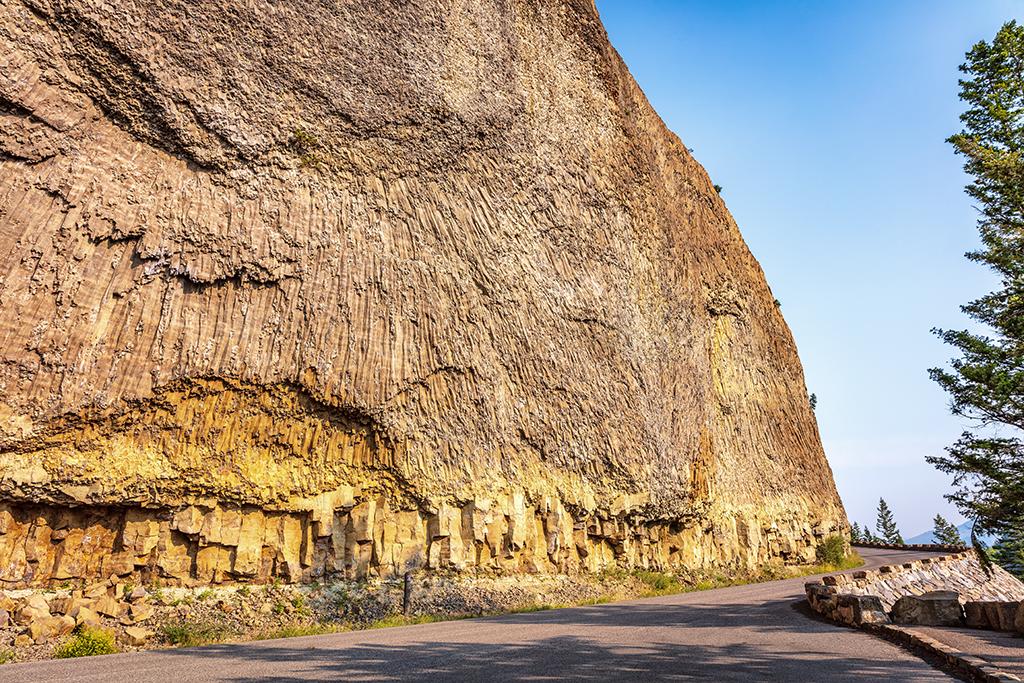
Columnar jointing across the park road, ISO 125, shutter 1/40, aperture f11, Yellowstone National Park / Rebecca Latson

A closer look at those columnar joints, ISO 125, shutter 1/40, aperture f11, Yellowstone National Park / Rebecca Latson
Tower Fall is about half of a mile (0.8 kilometer) further up the road. This place is worth a stop to see the crumbly-looking volcanic breccia pinnacles between which the water of Tower Creek drops 132 feet (40 meters). Fun fact: Thomas Moran’s painting of Tower Fall played a role in this park’s establishment in 1872.

A wide-angle view of Tower Fall, ISO 125, shutter 1/40, aperture f9, Yellowstone National Park / Rebecca Latson

A telephoto view of the pinnacles around Tower Fall, ISO 200, shutter 1/200, aperture f8, Yellowstone National Park / Rebecca Latson

Some of the park's littler wildlife enjoying a snack, ISO 200, shutter 1/160, aperture f8, Yellowstone National Park / Rebecca Latson

Looking eastward into Yellowstone country, ISO 160, shutter 1/200, aperture f8, Yellowstone National Park / Rebecca Latson

Landscape layers, ISO 125, shutter 1/100, aperture f11,Yellowstone National Park / Rebecca Latson
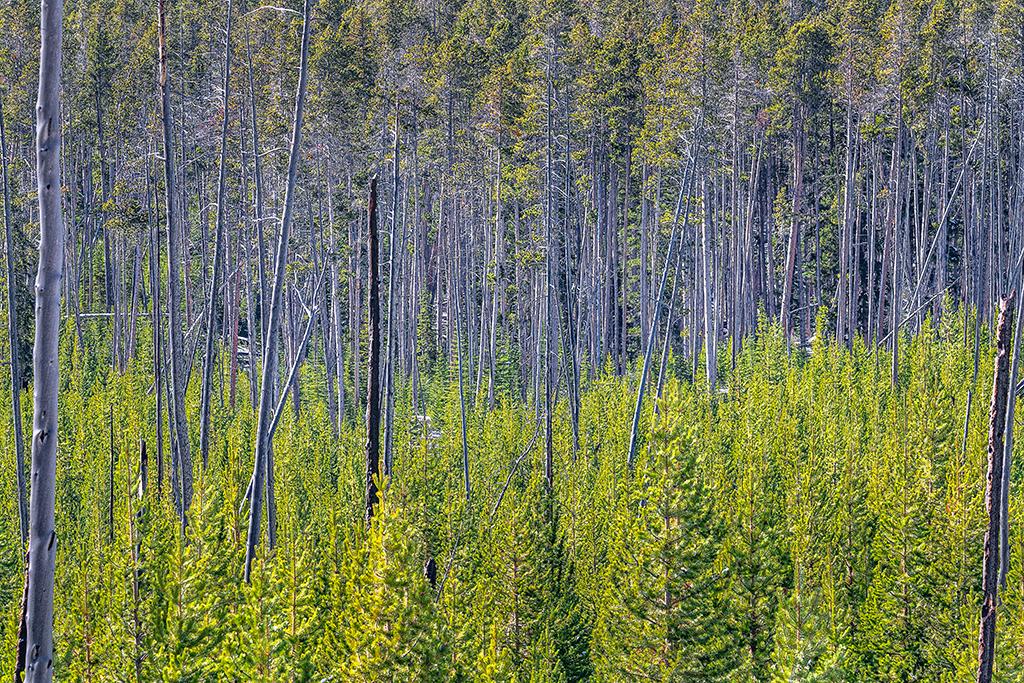
A telephoto forest abstract composition, ISO 200, shutter 1/125, aperture f9, Yellowstone National Park / Rebecca Latson

The view from Washburn Hot Springs Overlook, ISO 160, shutter 1/200, aperture f5.6, Yellowstone National Park / Rebecca Latson
Eventually, you’ll cross the edge of the Hayden Valley, driving northeast to southeast. All along this stretch of the highway are pullouts and parking areas from which to see the valley and perhaps a bison herd.

Hayden Valley landscape on a chilly autumn day, ISO 200, shutter speed 1/200, aperture f13, Yellowstone National Park / Rebecca Latson

Hayden Valley landscape, ISO 125, shutter 1/80, aperture f11, Yellowstone National Park / Rebecca Latson

A distant bison herd in the Hayden Valley, ISO 125, shutter 1/50, aperture f11, Yellowstone National Park / Rebecca Latson

Keeping one eye open, ISO 400, shutter 1/250, aperture f8, Yellowstone National Park / Rebecca Latson
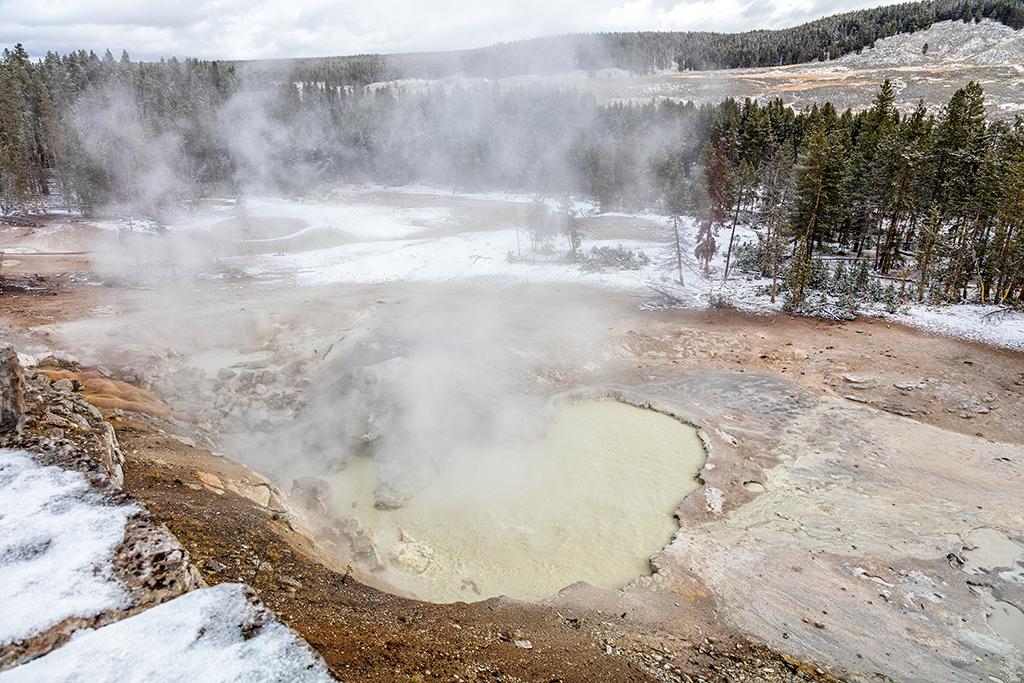
A steamy Sulphur Caldron, ISO 400, shutter 1/250, aperture f8, Yellowstone National Park / Rebecca Latson

A summer view of Mud Volcano landscape, ISO 160, shutter 1/80, aperture f10, Yellowstone National Park / Rebecca Latson

The living and the dead, ISO 125, shutter 1/60, aperture f9, Yellowstone National Park / Rebecca Latson
If you decide to stop and photograph the beautiful water of the Yellowstone River as it flows into Yellowstone Lake, use the trees as natural frames on either side of your subject.

A natural frame around a watery landscape, ISO 125, shutter 1/60, aperture f9, Yellowstone National Park / Rebecca Latson
There are stops and pullouts along the western edge of Yellowstone Lake. Visiting in the fall means you can use your telephoto lens to capture some close shots of the mountain landscape across the lake, with its spiky layer of toothpick-straight tree trunks blanketing the mountainsides. Think about the layers in your composition: clouds (if there are any), mountains, and water.

An autumn view of Yellowstone Lake layers, ISO 200, shutter 1/160, aperture f13, Yellowstone National Park / Rebecca Latson
The West Thumb Geyser Basin turnoff is to your left prior to the turnoff to Grant Village. Depending upon the time of year and time of day you visit, the parking area may be full. If that happens, then stop back at this geyser basin the next morning before heading off on your next leg of the Grand Loop photo tour. The sunrise here is gorgeous.
If you have a little time in the park and plan to camp at the Grant Village Campground, have fun with a little night photography. Leave the lantern on and go outside to capture the stars above your warmly-lit tent. A wide-angle lens with a large aperture is best for night shots to capture the stars above while allowing as much low light as possible to reach your camera’s sensor. Experiment with shutter speeds and apertures. You want to achieve a starry sky shot without overexposing the light issuing from your tent. Also be aware that a wide-angle lens (14mm or 16mm) tends to create an interesting perspective where trees may point toward the center of the composition.
You’ll need a tripod for your night shots because your shutter will be very slow and your camera’s aperture (the opening between lens and camera sensor) will be wide open. You might also wish to use either a corded or wireless remote shutter release, or your camera’s 2-second delay timer to prevent camera shake vibration after your finger presses down on that shutter button.
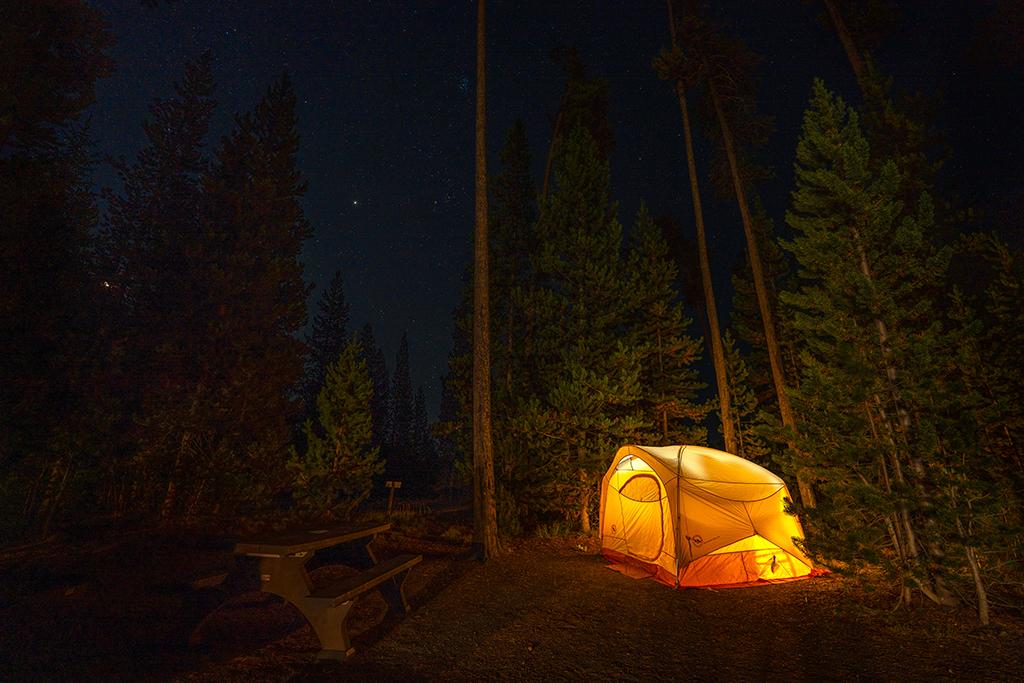
A warmly-lit tent beneath the stars, ISO 250, shutter speed 10 seconds, aperture f4, Yellowstone National Park / Rebecca Latson
I’ll give the same advice here as I did in Part 1: Photograph whatever piques your interest. Don’t just stop because you see another photographer there. They may be photographing something totally uninteresting to you. Be curious, use your observational skills, and remember to capture the little things as well as the Big Picture items.

Flame skimmer, ISO 200, shutter 1/200, aperture f8, Yellowstone National Park / Rebecca Latson

Early morning summer light at West Thumb Geyser Basin, ISO 160, shutter 1/80, aperture f8, Yellowstone National Park / Rebecca Latson
Stay tuned for Part 3 next month.