All right, I admit I was a little late in getting that autumn photography article out, so I figure this article about national park winter photography is coming out with plenty of time to help you prepare, since winter in the Northern Hemisphere (according to almanac.com) officially begins December 21, 2021.
Like autumn, winter has many faces within the National Park System. Some park units will be dry as a bone with warm temperatures and no snow, while other park units will produce their share and then some of the white stuff. Most national parks have fewer crowds during this time of year, which is the perfect time for a visit and a little photography, as long as you don’t mind the possible caveats of seasonal or storm-damage-related road closures and trails buried beneath feet of snow.
So, let’s explore the faces of winter, and how to capture great shots. Let’s also discuss the planning involved for a winter park excursion.
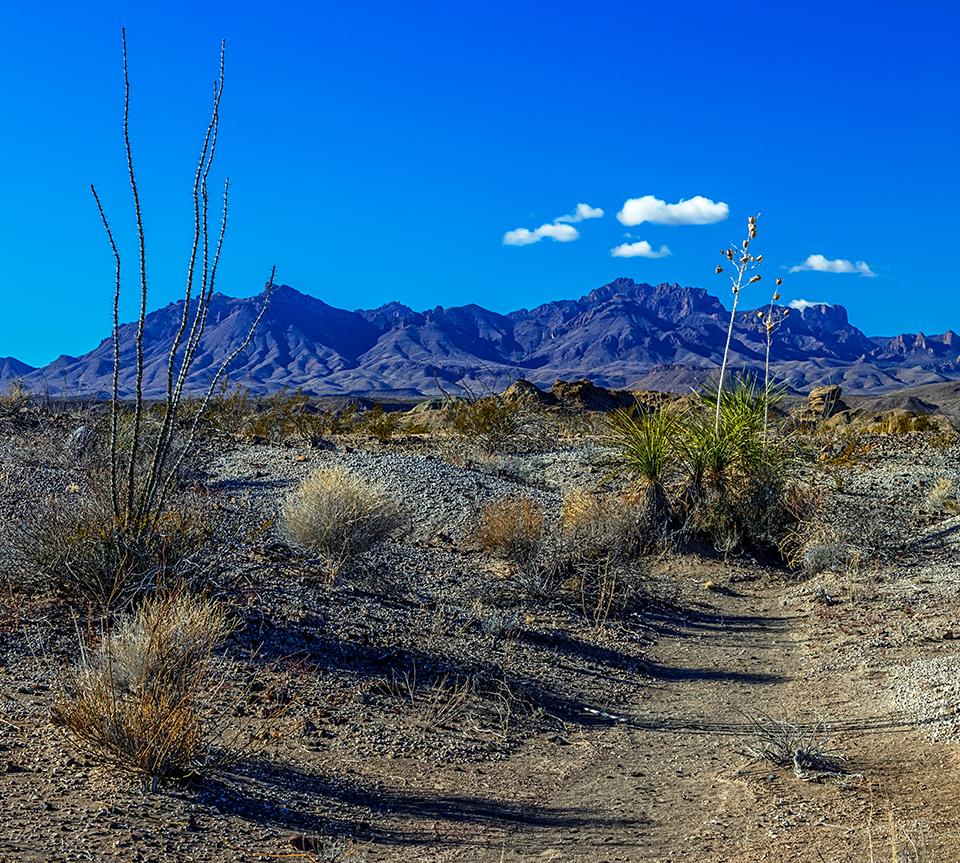
A stark and snowless winter in Big Bend National Park / Rebecca Latson

A starry winter sky, Big Bend National Park / Rebecca Latson
I traveled to Big Bend National Park, in Texas, in December 2013 and again in January 2016. The takeaway both times was a landscape stark and lonely, with a night sky pinpricked by thousands of brilliant stars. Temperatures at Big Bend were chilly in the mornings and evenings, and warmer during the day. I didn’t need a down parka or fleece pants, but I did wear a hat and a fleece pullover.
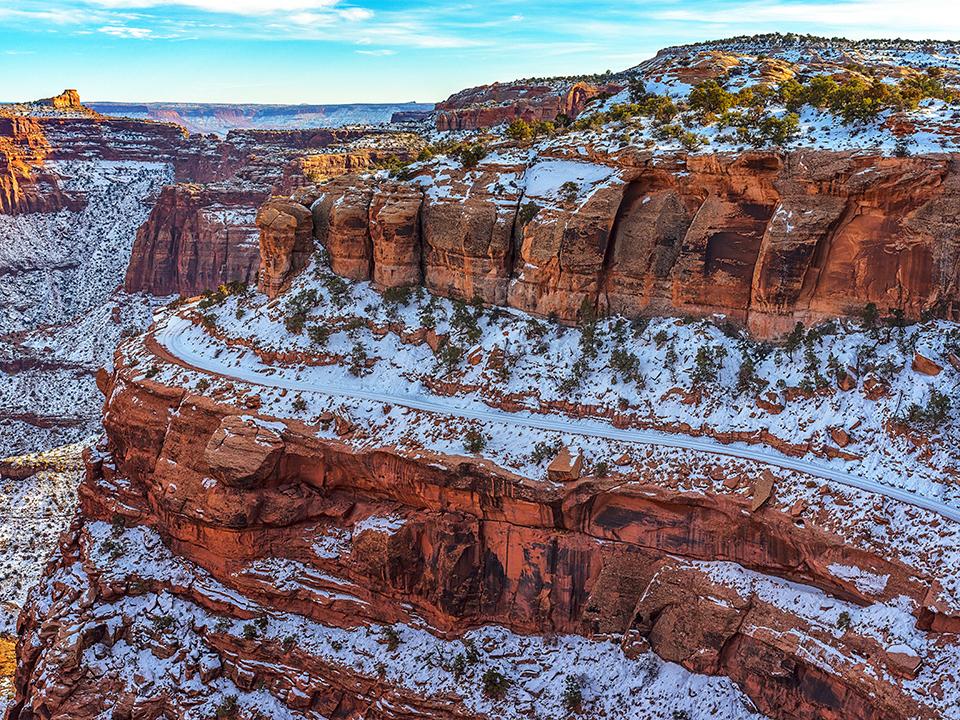
A snowy Shafer Canyon and road, Canyonlands National Park / Rebecca Latson

A sunny, crisp, freezing, windy morning on the trail to Skyline Arch, Arches National Park / Rebecca Latson
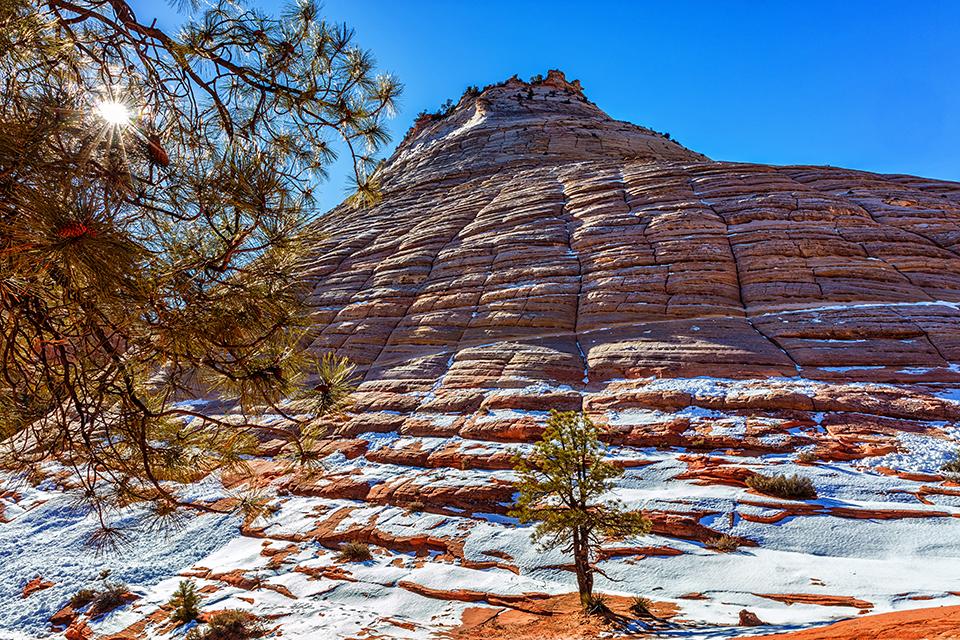
Winter snow on Checkerboard Mesa, Zion National Park / Rebecca Latson
Canyonlands, Arches, and Zion national parks in Utah, on the other hand, required a hat, fleece pants, down vest, and air-activated hand warmers for my pockets. The majority of my winter stays at these parks were clear and crisp, with saturated colors of red rock, blue sky, and maybe a little green, too. Serendipity, however, produced a snowy day or two at each of these parks, creating a striking contrast of bright white snow on orange-red rock perfect for great photo compositions.

Winter rainbows and rain over Hawai'i Volcanoes National Park / Rebecca Latson
I took a winter trip to paradise one February in 2017 – er, that’s the paradise of Hawaii and not Mount Rainier National Park. Except for almost-14,000-foot tall Mauna Loa, which might have experienced snow while I visited, Hawai’i Volcanoes National Park, like Big Bend National Park, was comfortably warm with a few days of fog and light precipitation over the rain forests, giant ferns, ʻōhiʻa trees, and steaming volcanics.
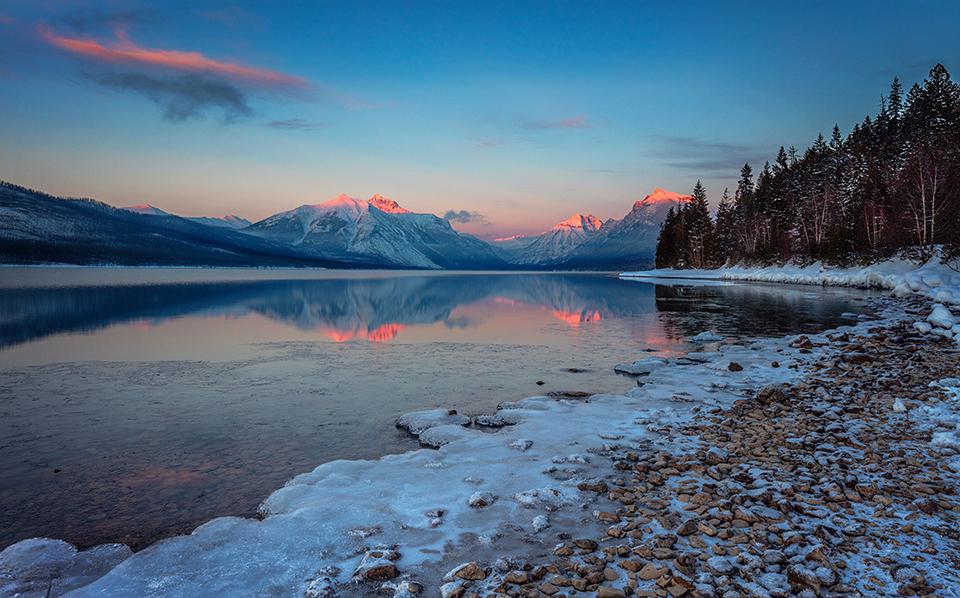
A last-ditch winter alpenglow over Lake McDonald, Glacier National Park / Rebecca Latson

A snowy winter trail to "The Mountain," Mount Rainier National Park / Rebecca Latson
My January 2017 and December 2020 journeys to Glacier and Mount Rainier national parks in Montana and Washington state, respectively, provided quite a bit of the white stuff. Both parks were cold enough to warrant air-activated hand warmers and a pair of snow shoes, while Glacier reintroduced me to temperatures in the negative digits. I’d not experienced a winter in Glacier since I moved from Montana when I was nine years old, so it felt like a sub-zero electric shock to my system as I dragged my luggage out of the warm confines of Glacier Park International Airport over to my rental vehicle. The temperature gauge inside the SUV read -19 degrees Fahrenheit.
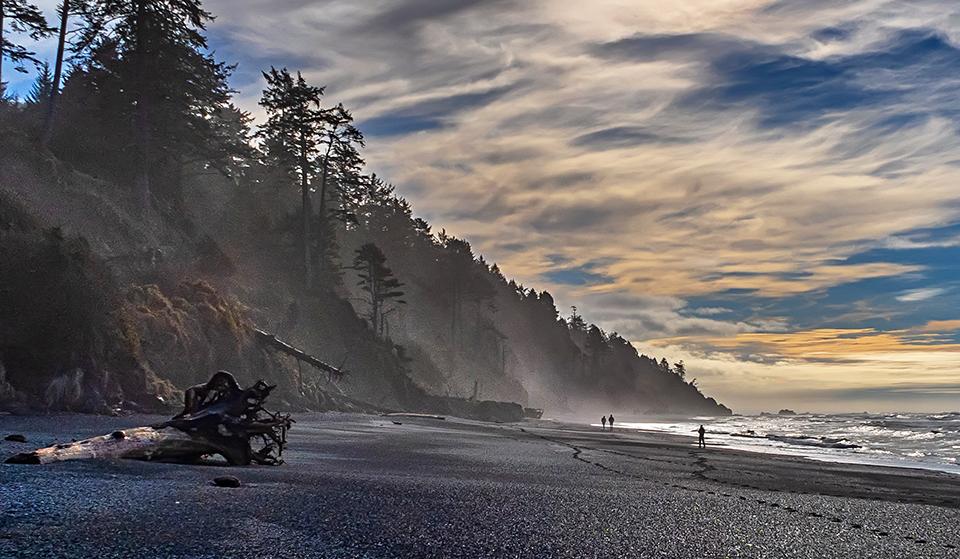
A winter afternoon walk along Beach 4, Olympic National Park / Rebecca Latson

A wet winter's day at July Creek, Quinault Rain Forest, Olympic National Park / Rebecca Latson
Olympic National Park offered up a little bit of everything during my January 2019 stay: chilly beaches with angry clouds creating dramatic storms and glorious sunsets over the Pacific Ocean, and rain-sodden deep greens in the Quinault Rain Forest. The road to the Hoh Rain Forest was closed due to storm damage strong enough to down trees and my visit occurring during one of those pesky government shutdowns. I didn’t have time to drive to Hurricane Ridge, but the webcams displayed plenty of deep white stuff. Visiting this national park during the winter requires rain and snow gear.
You can see, now, the different winter weather conditions you might encounter, depending upon which park unit you visit. How do you prepare for your trip, what kind of images can you expect to capture, and how do you get those shots?
Nowadays, it pays to start planning your national park excursion months ahead. Check out the NPS.gov website for whichever park you plan to visit. Each park site is more or less consistent (larger national parks like Yellowstone and Yosemite have more information and some extra bells and whistles). There’s usually a page displaying average monthly temperatures, and you definitely want to find out if you must apply for any winter activity permit.
Something else you can do is search through photo sites like Flickr (did you know the Traveler has a Flickr site?). Type in keywords like the park name and “winter” or the month you plan to visit and see what pulls up. A search on the Traveler’s site is helpful, too. Over the years, the Traveler has published many articles and photographs regarding winter travel to various national parks.

The author all prepared for a day in the snow, Mount Rainier National Park / Rebecca Latson
Take care of yourself in that cold weather! Dress warmly. If you become really cold, then your shots will suffer for it because you won’t be concentrating so much on composing that lovely winter scene as you will that cup of hot chocolate you can wrap your freezing fingers around, or the blazing fire in the fireplace, or a dip in the hot tub.
What kind of winter photography provisions should you make for your camera? Well, preparation depends upon the park and the type of camera. For point-and-shoot and SLR cameras, bring along extra batteries. For smart phones, bring along a couple of chargers – one for your room or RV or solar charger in your tent, and one for your vehicle. Keep camera batteries and smartphones out of the elements and in your pocket. Smartphones, especially, shouldn’t be kept out in the elements for very long. Get your smartphone photo or video then tuck it somewhere warm and out of the elements. Nothing sucks the juice from a camera or smartphone battery faster than cold weather. Trust me.
Take care to keep your camera from experiencing sharp temperature changes. Trust me on that, too. The camera gods smiled upon me the day in Glacier when the front of my camera lens developed a thin veneer of frost that turned to murky condensation when I brought the camera back into a warmer car. Yes, I’d followed my own advice about packing the camera back into my backpack to allow it to acclimate to the temperature change. But, I forgot that one time, since I was driving from one location to another nearby. Luckily, the condensation did not affect the electronics, which is, I suppose, a testament to the camera brand’s weather sealing measures. Once you are finished with your outdoor photography at a particular spot in the cold winter weather, place the camera back into your camera pack or your pocket, if you are using a small point-and-shoot or a smartphone, to allow it to adjust to temperature changes.
Also protect that camera if you are heading to the beach. Try not to switch out lenses on a windy beach unless your camera is shielded from the elements. Wind-blown sand can do a number on lens elements and a camera’s sensor to mess up an otherwise great day of photography. Wipe down your camera after your seashore jaunt with a damp cloth to remove salt from your camera and lens exterior. You might not be able to see the salt, but if you smell it in the air, then it’s there. Same thing goes for any volcanic park site you visit (Yellowstone, Hawai’i Volcanoes, Lassen Volcanic national parks). Volcanic steam means sulfur and other particles of “stuff” that can coat your camera setup. If you can smell the sulfur and/or see and feel the steam issuing from a vent, then it’s in the air and around your camera.
Rain, sleet, and snow necessitates yet another type of protection for your camera: the rain cover. Online places like BHphoto and Adorama carry a number of brands. My personal fave is the Vortex Media Storm Jacket. While the Storm Jacket does get overwhelmed with prolonged torrential wetness, it works well enough for shorter rain and snow encounters. Plus, it comes in nice bright colors to help one find their camera if they fall and the camera is thrown into the deep snow (don’t ask).
In most of these photo articles, I try not to get too much into the weeds regarding photo editing, because I know you either have your own method for editing your photos, or you don’t do any post-processing because it’s tedious and you like what you’ve shot straight from your camera or smartphone. Btw, smartphone apps have come a long way to help you tweak your image before posting it on Instagram, Facebook, or Twitter. That said, I do want to talk a little bit about keeping snow in your snow shots white, rather than gray or blue.
If you don’t feel like fiddling with snow color while editing images after the fact, then try a couple of in-camera settings and see if they help. SLRs and point-and-shoots have a White Balance Mode that allows you to choose from several presets based upon what kind of light you encounter. Most of the time AWB (auto white balance) works just fine for everything – maybe even snow. But sometimes, you’ll notice your snow photos have a blue cast to them. In that case, experiment with the “cloudy,” “shade,” or “fluorescent” settings to add a little warmth (yellow) to counteract the cool (blue) scene. The icons on your camera’s LCD for those settings will usually look like clouds, a little building with a shady side on it, or a fluorescent light tube.
Another thing that might help is to actually overexpose your snow image (without blowing out the highlights). Your camera’s metering system is calibrated for a medium gray tone, which usually works just fine for most images … except snow. On SLRs and possibly also on high-end point-and-shoots, there’s either a little dial, or an “Exposure Compensation” menu setting with numbers and plus or minus signs. Keep whatever exposure settings you may already have, but move that dial to +1 or +2 and see if you like the resulting images.

A winter snowfall over the Lower Emerald Pools Trail, Zion National Park / Rebecca Latson
You want to capture the actual snow falling? Experiment with your shutter speed. The slower your shutter speed, the more obvious the snowfall will be. Too slow, though, and the snow will become white streaks rather than white flakes. Too fast, and you might not even see the snow falling in your scene at all. Try starting out with a shutter speed of 1/100 and then work your way up or down from there and see what you like.
One last thing about winter photography (actually, you should apply this to all of your national park photography, no matter what season of the year): be observant and take a little time with framing your composition. I know it might be freezing and all you want to do is jump out of the nice warm car, get a quick shot of the scene, then jump back into the welcoming warmth. The difference between an ok-to-good shot and a great-to-stunning shot is what you observe around you and the amount of thought put into framing your image. So, here are a few quick tips to help you.

A snowy leading line of a trail, Mount Rainier National Park / Rebecca Latson
Look for leading line shots (footprints in the snow or a packed down snow trail).
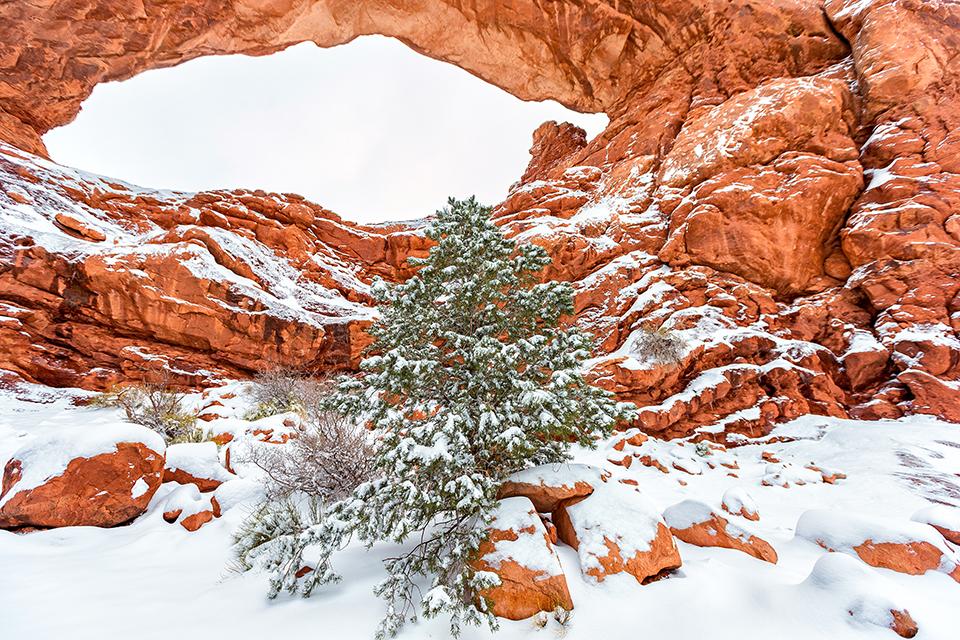
A little tree at the South Window, Arches National Park / Rebecca Latson
Look for that contrast in colors.
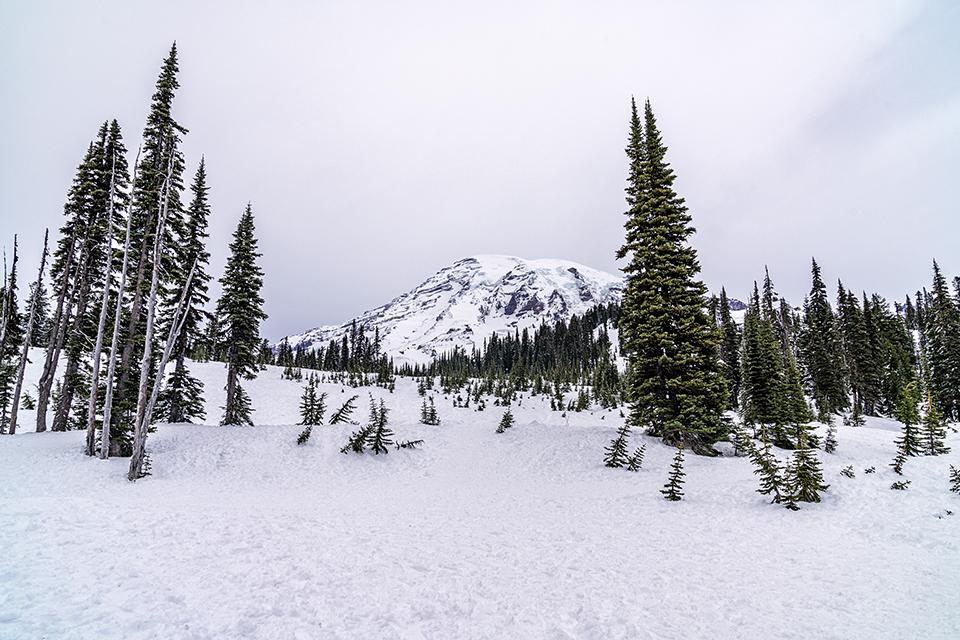
Winter white and green, Mount Rainier National Park / Rebecca Latson
If you are photographing a total snow scene, from sky to ground, then look for darker-colored objects to break the monotony of white and add depth to the composition. White on white can make the scene look flat.

A lone tree on an eroding lithified sand dune, Zion National Park / Rebecca Latson
Rather than stick your subject in the center of your composition, place it to the side (called the Rule-of-Thirds technique).
Most of all, relax, capture what most catches your eye, and enjoy your winter photography – snow or no snow – in whatever national park unit you visit during the season.

A winter sunset over Kalaloch Beach, Olympic National Park / Rebecca Latson


 Support Essential Coverage of Essential Places


Comments
WOW!
Simply terrific pics and sound advice!
Your pictures illustrate the breathtaking winter beauty of our parks! Thank you for sharing them and for the proper winter clothing advice. I always need help when choosing winter clothing.