
Sunrise At Sunrise, Mount Rainier National Park / Rebecca Latson
My first visit since the coronavirus pandemic was to Crater Lake National Park. I admit feeling a little wary getting out and about where I knew other crowds would gather. Didn’t stop me, but I took precautions during that July trip to mitigate catching Covid. I thought Crater Lake was crowded back then, but I had no idea the number of people that *could* pack a particular section of a national park until my more recent August trip to the Sunrise area of Mount Rainier National Park.
I know, I write about Mount Rainier quite a bit. When the passes are open, it’s within a couple hours’ drive for me, so it’s easy to access. And, although I’ve visited this place more than once, I have yet to really explore many of the trails available within this national park. So yeah, you see more than a few articles and photos from me about this place.
During all the times I’ve traveled to this part of the park, though, I’d never ever captured a sunrise shot at Sunrise. Nor have I ever photographed a sunset or even the Milky Way from that spot. After checking the weather report, I decided I’d attempt (and achieve) those goals with a weekend jaunt to Sunrise. As with my previous Crater Lake trip, masks, disinfectant wipes, hand sanitizer, and my own food were requisites.
With a predicted sunny, clear weekend, of course White River campground was full, and you can’t make reservations for that place. I opted instead to spend a couple of nights at one of the hotels within the Crystal Mountain Resort purview. My room was small and simple, no AC and no microwave, but it did have a fridge plus a clean bed and bathroom.
Anybody visiting either the Paradise or Sunrise areas of Mount Rainier on a sunny summer day – especially on a weekend – should be prepared for crowds. The Sunrise parking lot was almost full by 7:30 a.m. People streamed in during pre-dawn hours to photograph the sunrise and start their hikes early. By 8:00 a.m. the line of cars stretched from the park fee booths almost to the park entrance off of Hwy 410. You may think you are arriving early enough for a parking spot, but you should still bring your patience with you and be prepared for a long wait. Once the Sunrise lot is full (and people have parked along every open foot of the roadside near the parking lot), it’s one car allowed in for every car leaving.
Bring a mask. Regarding Washington State, face coverings are currently required in all public spaces. I don’t know if there was any signage requiring face masks in either the Sunrise Day Lodge or Visitor Center because I never got close enough to look at signs. My one-track mind was focused on hitting the trail and avoiding clumps of crowds. You should go ahead, err on the side of caution, and bring a mask, not only for entering buildings there, but for crowded view areas (like Emmons Vista) and when passing other hikers along the narrow trails (most of the trails are narrow, fyi).
I estimate about 40% - 50% of the people I saw wore face masks. Generally, they had the masks on at the trailheads where it was crowded, then removed them further along the trail. Interestingly enough, if I saw someone hiking toward me on the narrow trail, I’d mask up and the person / people opposite me would put on their masks, too (if they were carrying masks with them in the first place). When approaching non-mask wearers, I would generally just step to the side of the trail and face away from them.
A quick check on the web told me sunrise would occur a little after 6:00 a.m. and sunset a little after 8:00 p.m. I advise arriving for sunrise photography 1 hour prior to actual sunrise to assure you get a parking space plus allow time to hike to a spot with a nice view of “The Mountain” at which you’ll set up your camera/tripod. You should also arrive early to capture Blue Hour shots of Mount Rainier as the starry sky lightens. You might even see tiny light specks of climbers working to reach the summit. Blue hour – that time just before sunrise and just after sunset –bathes the sky above with shades of blue, purple and pink.

Dawn At Sunrise, Mount Rainier National Park / Rebecca Latson
A tripod for this pre-sunrise imagery is required, because you’ll be using a slower shutter speed of 5 - 15 seconds or more to bring in the light while still applying a small ISO (160 - 320) and a relatively small aperture (f/4 – f/5.6). If you attempt a handheld shot, then bump up that ISO to 500+ and open up the aperture to f/2.8 – f/4) to employ a faster shutter speed to prevent camera blur. Be aware that higher ISOs mean a greater chance of graininess (noise) in your image. Oh, and if you handhold, then apply the “burst method” of keeping your finger on the shutter button for 3-4 clicks. Out of that sequence of shots, you should hopefully get at least a single clear image.
Sunrise begins with a kiss of gold atop the snowcapped summit, which then steadily descends the mountainside. This is where a graduated neutral density (grad ND) filter is helpful, because the sky and mountain top get bright quickly, while the foreground remains shadowed. Using a grad ND keeps the mountain and sky from “blowing out” (overexposing) while adjusting your settings to account for the darker ground.

A Kiss Of Sunrise, Mount Rainier National Park / Rebecca Latson
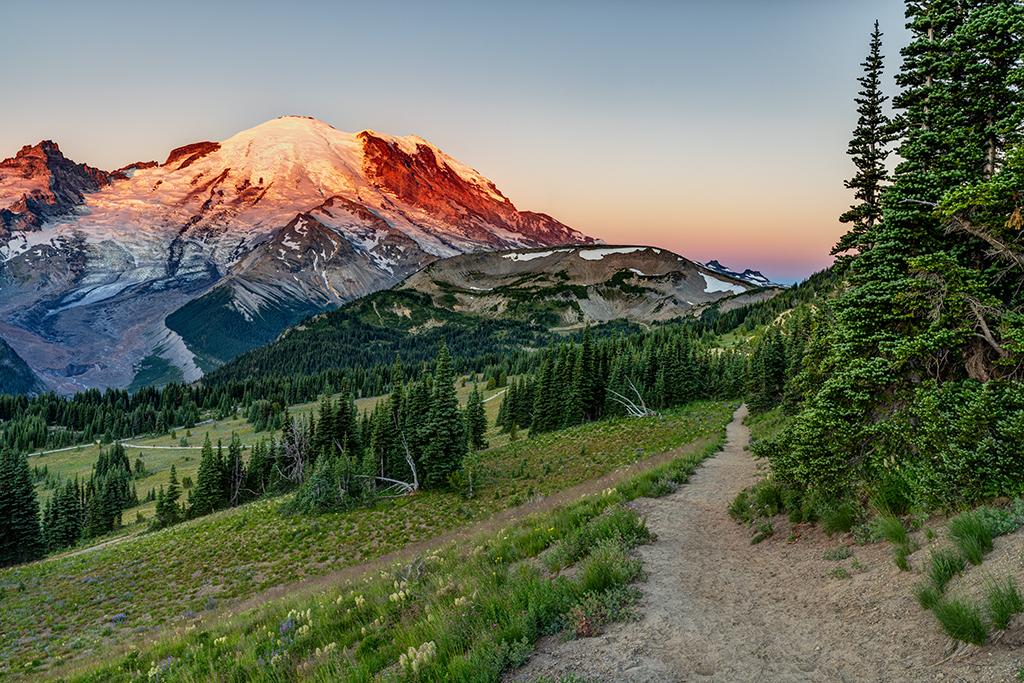
Sunlight's Steady Descent Upon The Mountain, Mount Rainier National Park / Rebecca Latson
Hey, if you are a fan (like I am) of the Emmons Vista Overlook, morning is the perfect time to visit this very small view area. The shaded trees create a nice natural frame to the view of Emmons Glacier and Mount Rainier, and early morning pretty much assures you of no crowds.

Emmons Vista Overlook, Mount Rainier National Park / Rebecca Latson
Once you’ve achieved your sunrise photography goal, it’s time to hit the trails. On a clear, sunny day, a circular polarizer (CPL) is a must. Acting just like your sunglasses, this filter not only saturates colors, accentuates textures, and removes glare, but it clears some of that mid-morning-to-midday haze.

The View From Glacier Overlook, Mount Rainier National Park / Rebecca Latson
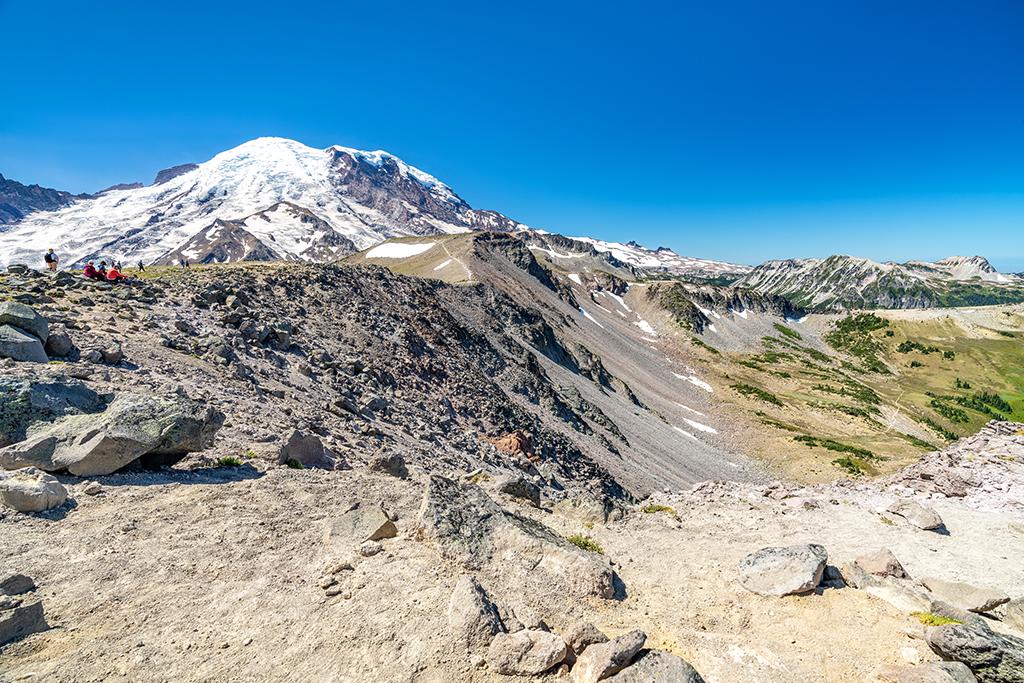
The View Toward The Burroughs, Mount Rainier National Park / Rebecca Latson
Make sure to get leading line shots of the trails you hike, and don’t forget to photograph little things you see, like the myriad wildflower blooms. Late July and August are awesome months for viewing and photographing the colorful flowers. Capture some telephoto shots, too, of the glaciers flanking Mount Rainier, with their crevasses and ice-blue hue.
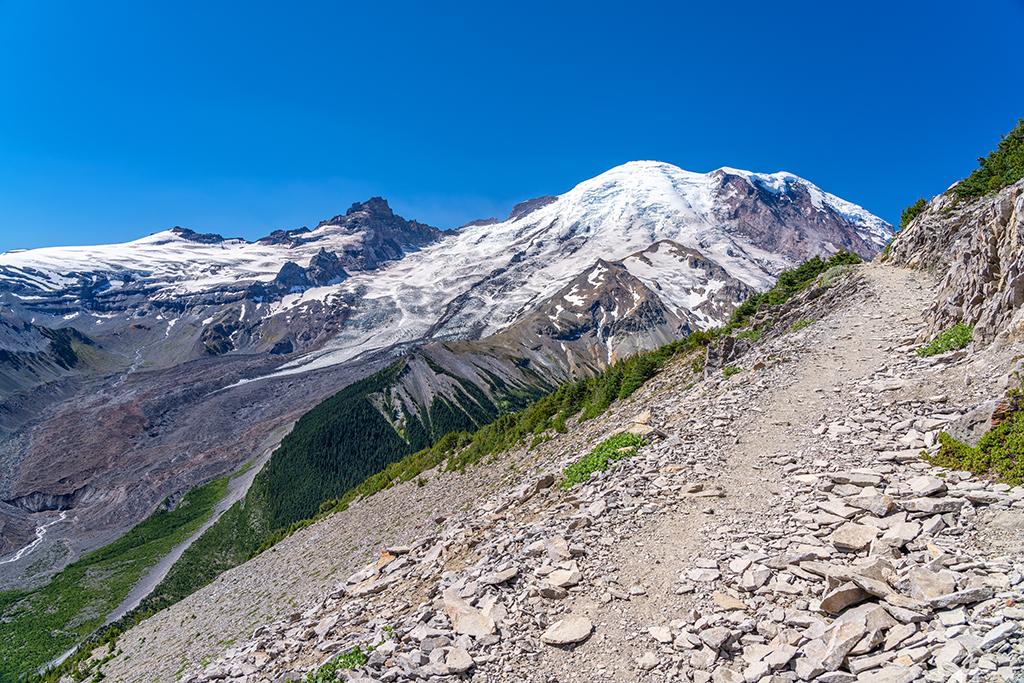
A Trail With A View, Mount Rainier National Park / Rebecca Latson

The Trail Toward Glacier Overlook, Mount Rainier National Park / Rebecca Latson

The Trail Down To Frozen Lake, Mount Rainier National Park / Rebecca Latson

Coiled Beak Lousewort Along The Trail, Mount Rainier National Park / Rebecca Latson

Groundcover Alongside The Trail, Mount Rainier National Park / Rebecca Latson

Emmons Glacier Telephoto, Mount Rainier National Park / Rebecca Latson
Sunset at Sunrise can be a muted affair with occasional flashes of brilliance, depending upon where you choose to photograph this event. Giving myself plenty of time to hike to my perch on Sourdough Ridge Trail, I set up tripod and camera to capture a steady stream of compositions with the changing light. At one point, the setting sun allowed me to create a sunstar (aka sunburst).

Late Afternoon Lenticular Cloud, Mount Rainier National Park / Rebecca Latson

Hurry Up Sundown, Mount Rainier National Park / Rebecca Latson
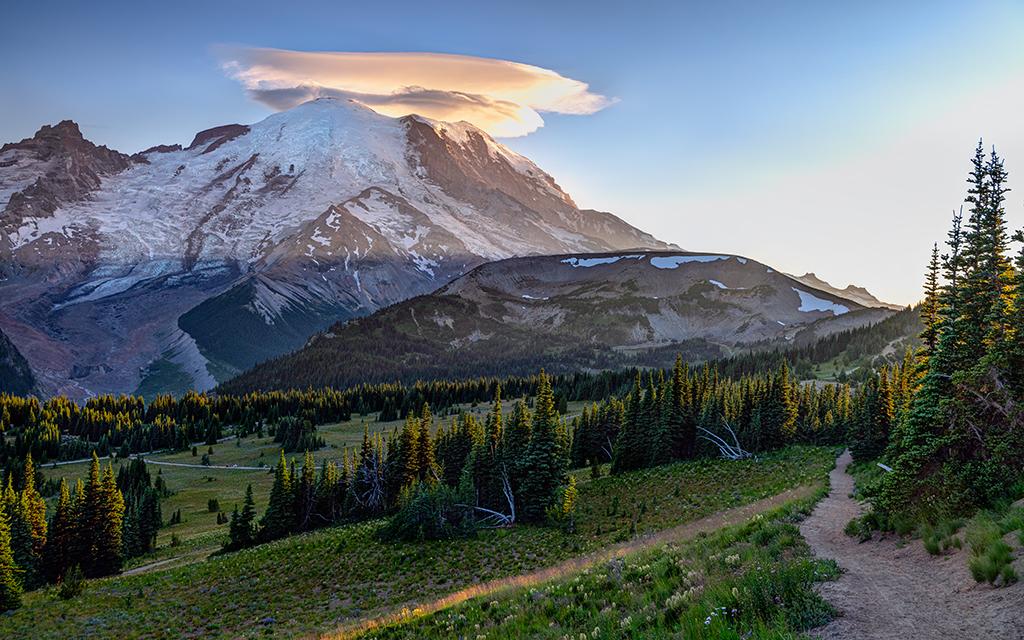
Sunset At Sunrise, Mount Rainier National Park / Rebecca Latson

Sunset's Finale, Mount Rainier National Park / Rebecca Latson
Finally, the glow of light lit one side of the mountain before disappearing below the horizon. After that, the evening Blue Hour took over, bathing the landscape in deepening shadows below the horizon and deep pink, purple and gold above.
Don’t forget to turn your camera away from Mount Rainier and photograph the scene behind you. You might capture a little bit of alpenglow and sky colored by the setting sun.

Sunset Looking In The Other Direction, Mount Rainier National Park / Rebecca Latson
The Sunrise area at night is much like an airport: busy even at 11:00 p.m. and beyond. From my spot along the trail, I looked down at the continuous stream of car lights and hikers’ headlamps and flashlights. I knew I would not be able to completely eradicate all that artificial light, so I chose to incorporate it into my Milky Way shots for a sense of perspective.

A Busy Summer Night At Sunrise, Mount Rainier National Park / Rebecca Latson
Star shots require a tripod and manual focus, since there is nothing for your camera’s autofocus to latch onto. SLR users will be using high ISOs, anywhere from 1000 to 3200+, wide-open apertures (f/1.4 – f/4) and slow shutter speeds ranging from 15 seconds to 30+ seconds. All of these factors mean you’ll have a totally blurred shot if your camera is handheld. You’ll also need to do a little editing once you return to your computer, since even with the most noise-free (grain-free) of cameras (my mirrorless SLRs outperformed my DSLRs), you’ll still end up applying noise reduction software to your shots. What’s “noise?” It’s the sandy, grainy look your photos have when getting low-light imagery using high ISOs. There are a host of noise reduction software programs out there, such as Imagenomic Noiseware, Topaz DeNoise, and even Adobe Lightroom and Adobe Photoshop have grain-reduction options.
If you enjoy photographing sunrises, sunsets, and/or the stars in a national park, the Sunrise area of Mount Rainier National Park is definitely a must-see-and-photograph location you should place on your bucket list. You might or might not encounter long waits and large crowds, but it’s a good idea to prepare for the possibility, and bring along a mask or two for your safety as well as the safety of others on the trail.
Have fun, stay safe, and go capture sunrise at Sunrise.
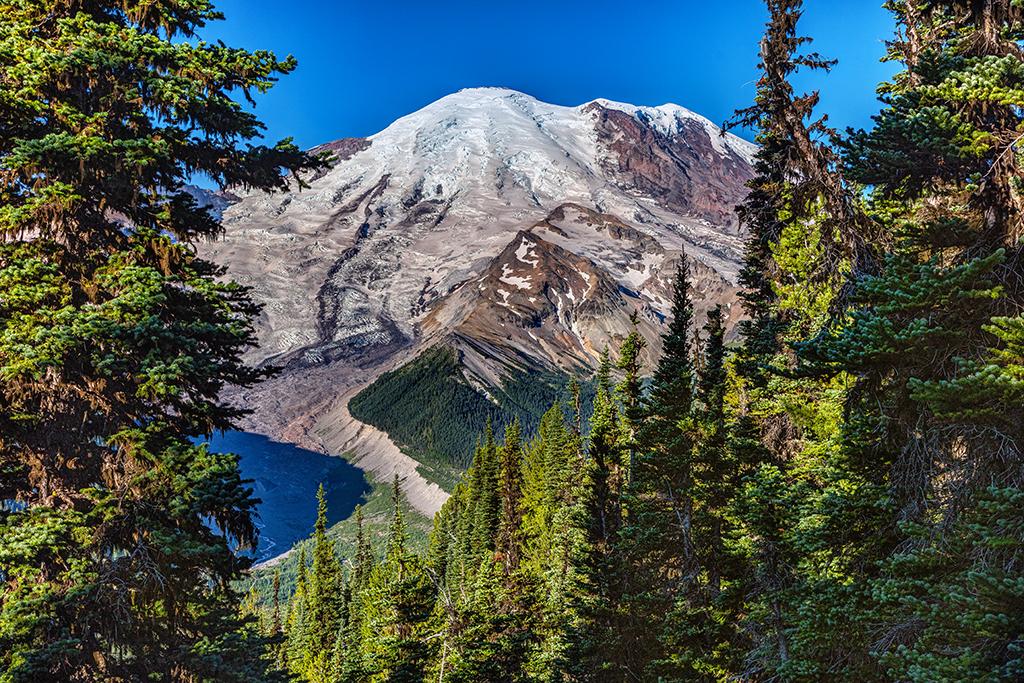
The Morning View From Emmons Vista, Mount Rainier National Park / Rebecca Latson


 Support Essential Coverage of Essential Places



Comments
Incredible images--- just absolutely breathtaking.
The visitor centers at the park have remained closed this season.
Thanks, Danielle G. I thought as much, having read the NPS.gov site for this park, but wasn't 100% sure since I veered away from buildings for the most part so never saw any signs.
Thanks for the kind words, Rick B. The Sunrise area is a favorite spot of mine for photography.
Yakima Park is a great place to view the Sun rise. Your photos prove that. Next time bring your flower book. Those aren't Lupines. Thanks
Thanks, David. Generally, I take the photo and then look it up in my flower book when I get home, but I forgot this time because the flowers looked so much like the Anderson's Lupines I saw at Crater Lake. Tell me, what are those flowers so I can make the correction?
Coiled beak lousewort. Lupines have a distinct leaf shape whether at the beach, mountains or desert.
Thanks!